Nick G and I have already tried a couple of WW2 Spearhead games using 20mm figures and vehicles. I have been only too well aware however of the issue of the ground scale versus the size of the vehicles - the vehicles occupy a disproportionate amount of table space, and alter force densities significantly. So we decided to try a game with the recommended 50% increase in ground scale, amending all distances and ranges accordingly, and played on a larger 9'x5' table. You can find the first of Nick's blog pieces on the game here.
Nick had set the scene using his available forces, with smaller German force of two battalions of infantry and a detachment of Stug IIIs defending against an attacking force of two infantry battalions, supported by a regiment of M4 Shermans: his Kiwis were going head to head with their German foe in Italy. The first photo shows the table form the German right flank, with the Germans defending close to but not on the river line on their right, with tow large hill features and one smaller feature across their frontage. As the defender I'd decided to support one defending battalion with the Stugs using the large feature on my right, hoping that the river would divert Nick's Kiwis across from my left. I planned a flank march in the hope that his attacking force would have passed my entry pint, so that I could catch him in the flank or rear.
Nick had set the scene using his available forces, with smaller German force of two battalions of infantry and a detachment of Stug IIIs defending against an attacking force of two infantry battalions, supported by a regiment of M4 Shermans: his Kiwis were going head to head with their German foe in Italy. The first photo shows the table form the German right flank, with the Germans defending close to but not on the river line on their right, with tow large hill features and one smaller feature across their frontage. As the defender I'd decided to support one defending battalion with the Stugs using the large feature on my right, hoping that the river would divert Nick's Kiwis across from my left. I planned a flank march in the hope that his attacking force would have passed my entry pint, so that I could catch him in the flank or rear.

The Stugs with the one battalion positioned in defence.

Nick did as I expected, avoided crossing the river (just as well, because I'd chosen to take the chance of not defending the river line.. whew!!). He advanced at me with the two infantry battalions, and sent the armoured regiment on a wide right flanking attack, unfortunately for Nick he sent his armour unsupported by infantry, a fact that impacted significantly on his plans).

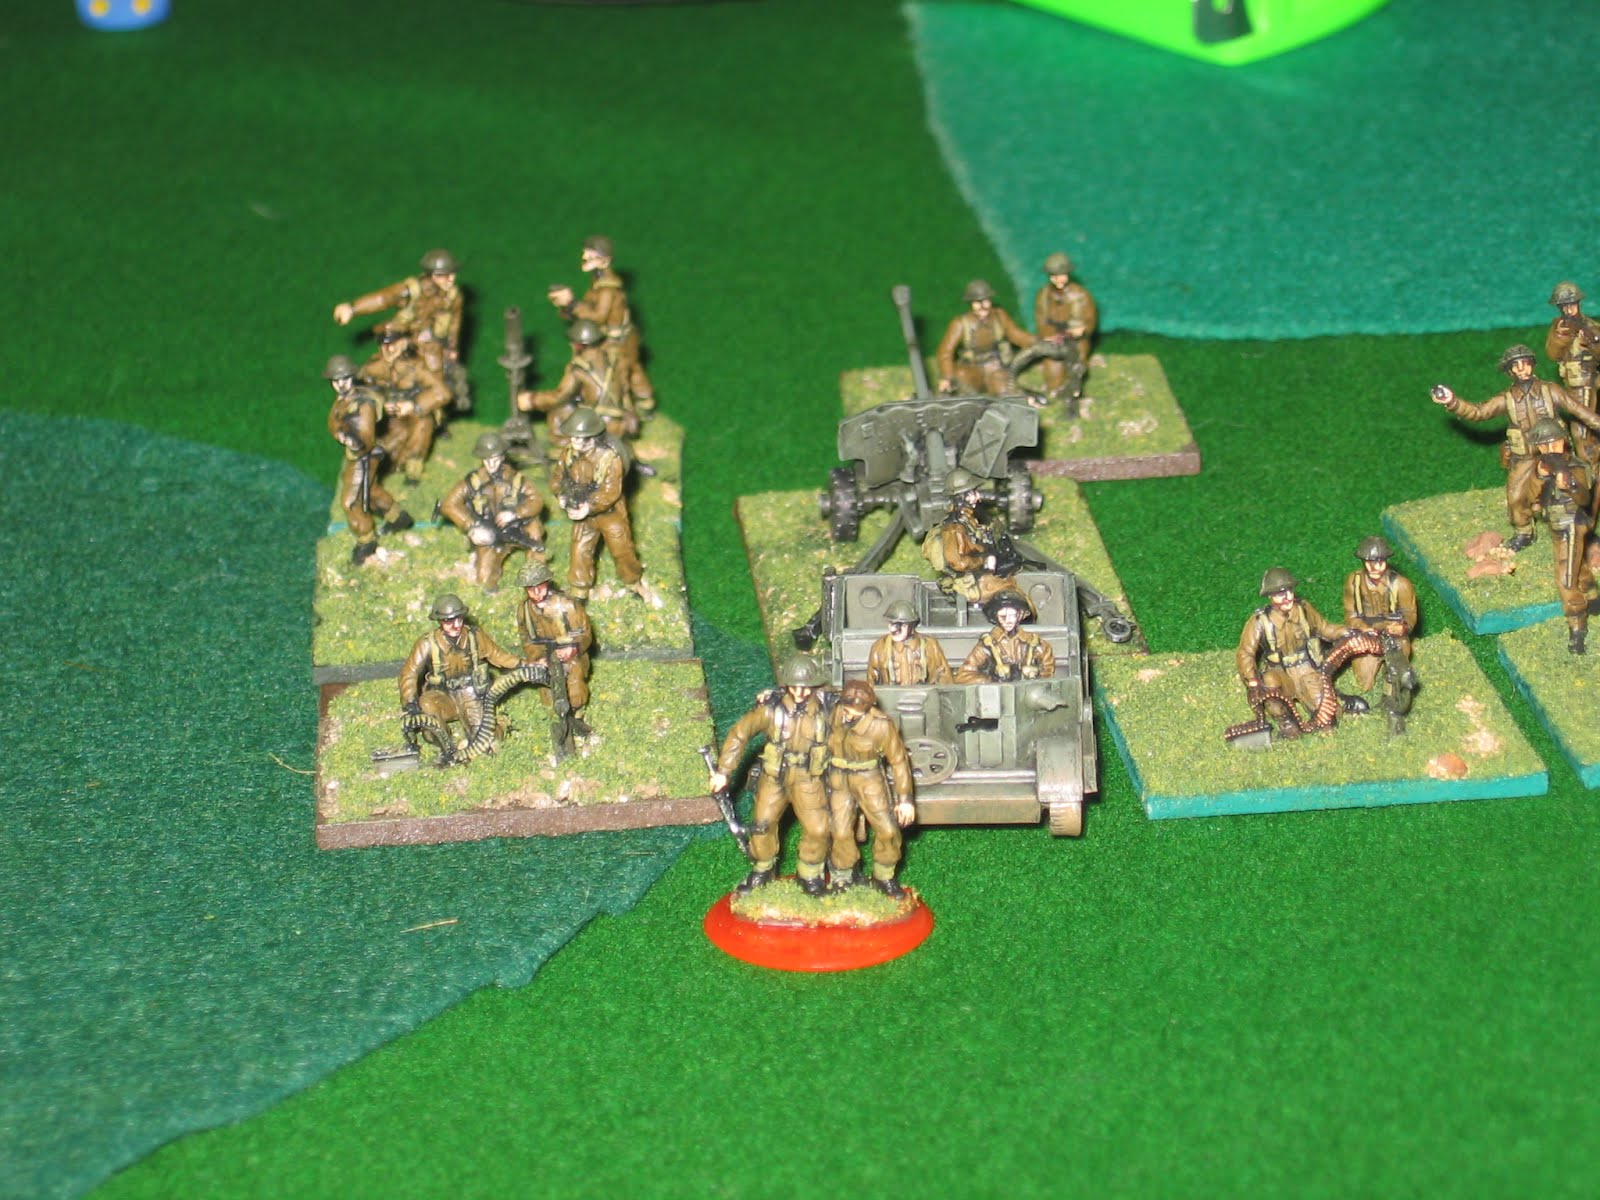
This was the entire left flank defence of my position - one company supported by an HMG platoon, hidden in a small copse.

Nick's centre battalion advanced across some ploughed fields.


His armoured regiment just as the flank attack came in ... at this point in time I was wishing I'd had some armour to support the infantry.

Nick initially chose to ignore my flank attack and move his armour to the end of their command arrow. I moved my battalion hurriedly into the tow sector town on the top of the hill, and beyond it. This enabled me to bring fire down on the battalion of Kiwis who were positioned to the front of this German battalion.

I brought the carrier platoon of his left wing battalion under mortar fire.. suppressed. I thought Nick's suppression markers were cool, a nice use of otherwise pretty useless 'wounded' figures in one of the packs he had bought.
As my own flank marching battalion rushed into the town sectors, Nick managed an order change for his armour, and turned the regiment around. I chose to sacrifice a platoon (the one that was never going to make it into either of the town sectors) and make an attack against one of the Sherman tank troops.


At this stage I ordered a counterattack with my defending battalion, supported by the Stugs. Nick also began to advance, against spotted enemy.. me!! His Carrier platoon came forward, and was promptly dispatched by mortar fire, followed by a series of direct hits from one of the StuG troops.


So how did I think this went? Nick managed a 'track to track' concentration of armour, one of the things that most of us feel is not a realistic simulation of most armoured warfare. However as we 'dissected' the action, Nick realised that he had deployed the armour poorly, and the 'track to track' armoured phalanx approach had not in fact worked. A better approach would have been to cross attach armour with one of the infantry battalions, giving him two much more useful battalion battle groups.
Once my flanking infantry battalion had gone into the town sectors, and beyond, Nick found his unsupported armour to be almost useless. They had no spotted enemy, so an order change was not possible, and they would have been at a serious disadvantage assaulting the infantry in the town sectors (as we would expect).
At the outset I was most interested in the impact of the extended ground scale on game play. The game played well, and the 'track to track' deployment of Nick's armour was more of an issue of player experience than anything else. Nick acknowledged that in future he would be trying to use space more effectively, and cross attaching units to ensure that infantry and armour were mutually supporting.
A good outcome, and a damned enjoyable way to spend an evening too. Thanks Nick!!


Cheers Robin for coming round for the game. It has certainly given me food for thought...cross detachments (now I have an excuse for some M3s, so that the attached infantry can keep up with the speed of the tanks!)...wider deployment...over run attacks...timed order changes...and the need for bigger (off table - read imaginary!) guns to pound towns!
ReplyDeleteNick
Nick
ReplyDeleteThank YOU for the game.
You mean 'Cross Attachment'..lol
The M3 thing depends on what the Kiwis were equipped with, if you want to stay within that OOB. For the Brits, then you'd be using an armoured division, with its Motorised Infantry Brigades, rather than an Infantry Division.
All good fun...
R
Try using tanks allocated out as support. For example a British tank regiment, or parts of the regiment allocated to infantry battalions.
ReplyDelete