The Great War in the Caucasus is something we don't read too much about, nor do we as 'gamers undertake too much from that theatre. The Turkish foray into the Caucasus in 1914 was a story of tragedy and disaster in the end, costing so many lives.
Last week Andy and I got together to fight the Battle of Sarakamis, fought in late December 1914, over several days. We used the scenario posted by Robert Dunlop on the iO Group. This is Robert's introduction to the scenario.
Caucasus, 29th December 1914
Background
After procrastinating for a time, Turkey entered the war. Turkish forces attempted to seize the strategic initiative against Russian, the arch-enemy in the Caucasus. Enver Pasa, the Minister of War, opted for an offensive campaign during the winter. He even left Constantinople and travelled to Erzurum to oversee the campaign. Having replaced the senior commanders of the Turkish Third Army, Enver Pasa then embarked on a plan to encircle the Russians at Sarakamis. The weaker Turkish XIth Corps were to pin the Russians. IX and X Corps had the difficult task of manouvering around the Russians right wing.
After mobilization, the Turkish forces were increased as quickly as possible. Additional men, artillery and machine guns boasted Third Army's offensive capabilities. When the Turkish attack began, the weather was relatively mild, with little fog or snow. From December 22nd - 24th, the Xth Corps made excellent progress on the extreme left flank. Oltu was captured and the troops pressed forward, before turning south. IXth Corps made its way across a narrow plateau and eventually reached the northern edge of Sarakamis. However, the weather conditions became atrocious. Heavy snows blanketed the mountainous terrain and valleys. At night, severe frosts would be associated with temperatures of -40 degrees C and below. Slowly, Xth Corps moved south until it was able to cut off the eastern approaches to Sarakamis.
The Turks took the initiative in trying to capture the strategic railhead at Sarakamis. Time and the weather were against the Turks. XIth Corps failed in its task to pin the Russians. Gradually, the Russian defenders around Sarakamis were reinforced. Eventually, they would be strong enough to launch a counter-offensive.
 |
| Source: https://military-history.fandom.com/wiki/Battle_of_Sarikamish |
The battle was fought busing the Great War Spearhead rules set. You can find further information, AARs, and scenarios, on my web site 'The Great Adventure'.
We fought Option 1 of Robert's scenario using our 20mm armies.
.jpg) |
| The battlefield with the town of Sarakamis seen in the upper centre of the photo. In the middle foreground is a small village (outskirts, in Spearhead terms). |
 |
| Andy's attack plan. He realise afterwards that he had drawn his attack arrows a little short. |
 |
| My own map with the arrow showing the commitment of the Russian reserve, after contact had been made |
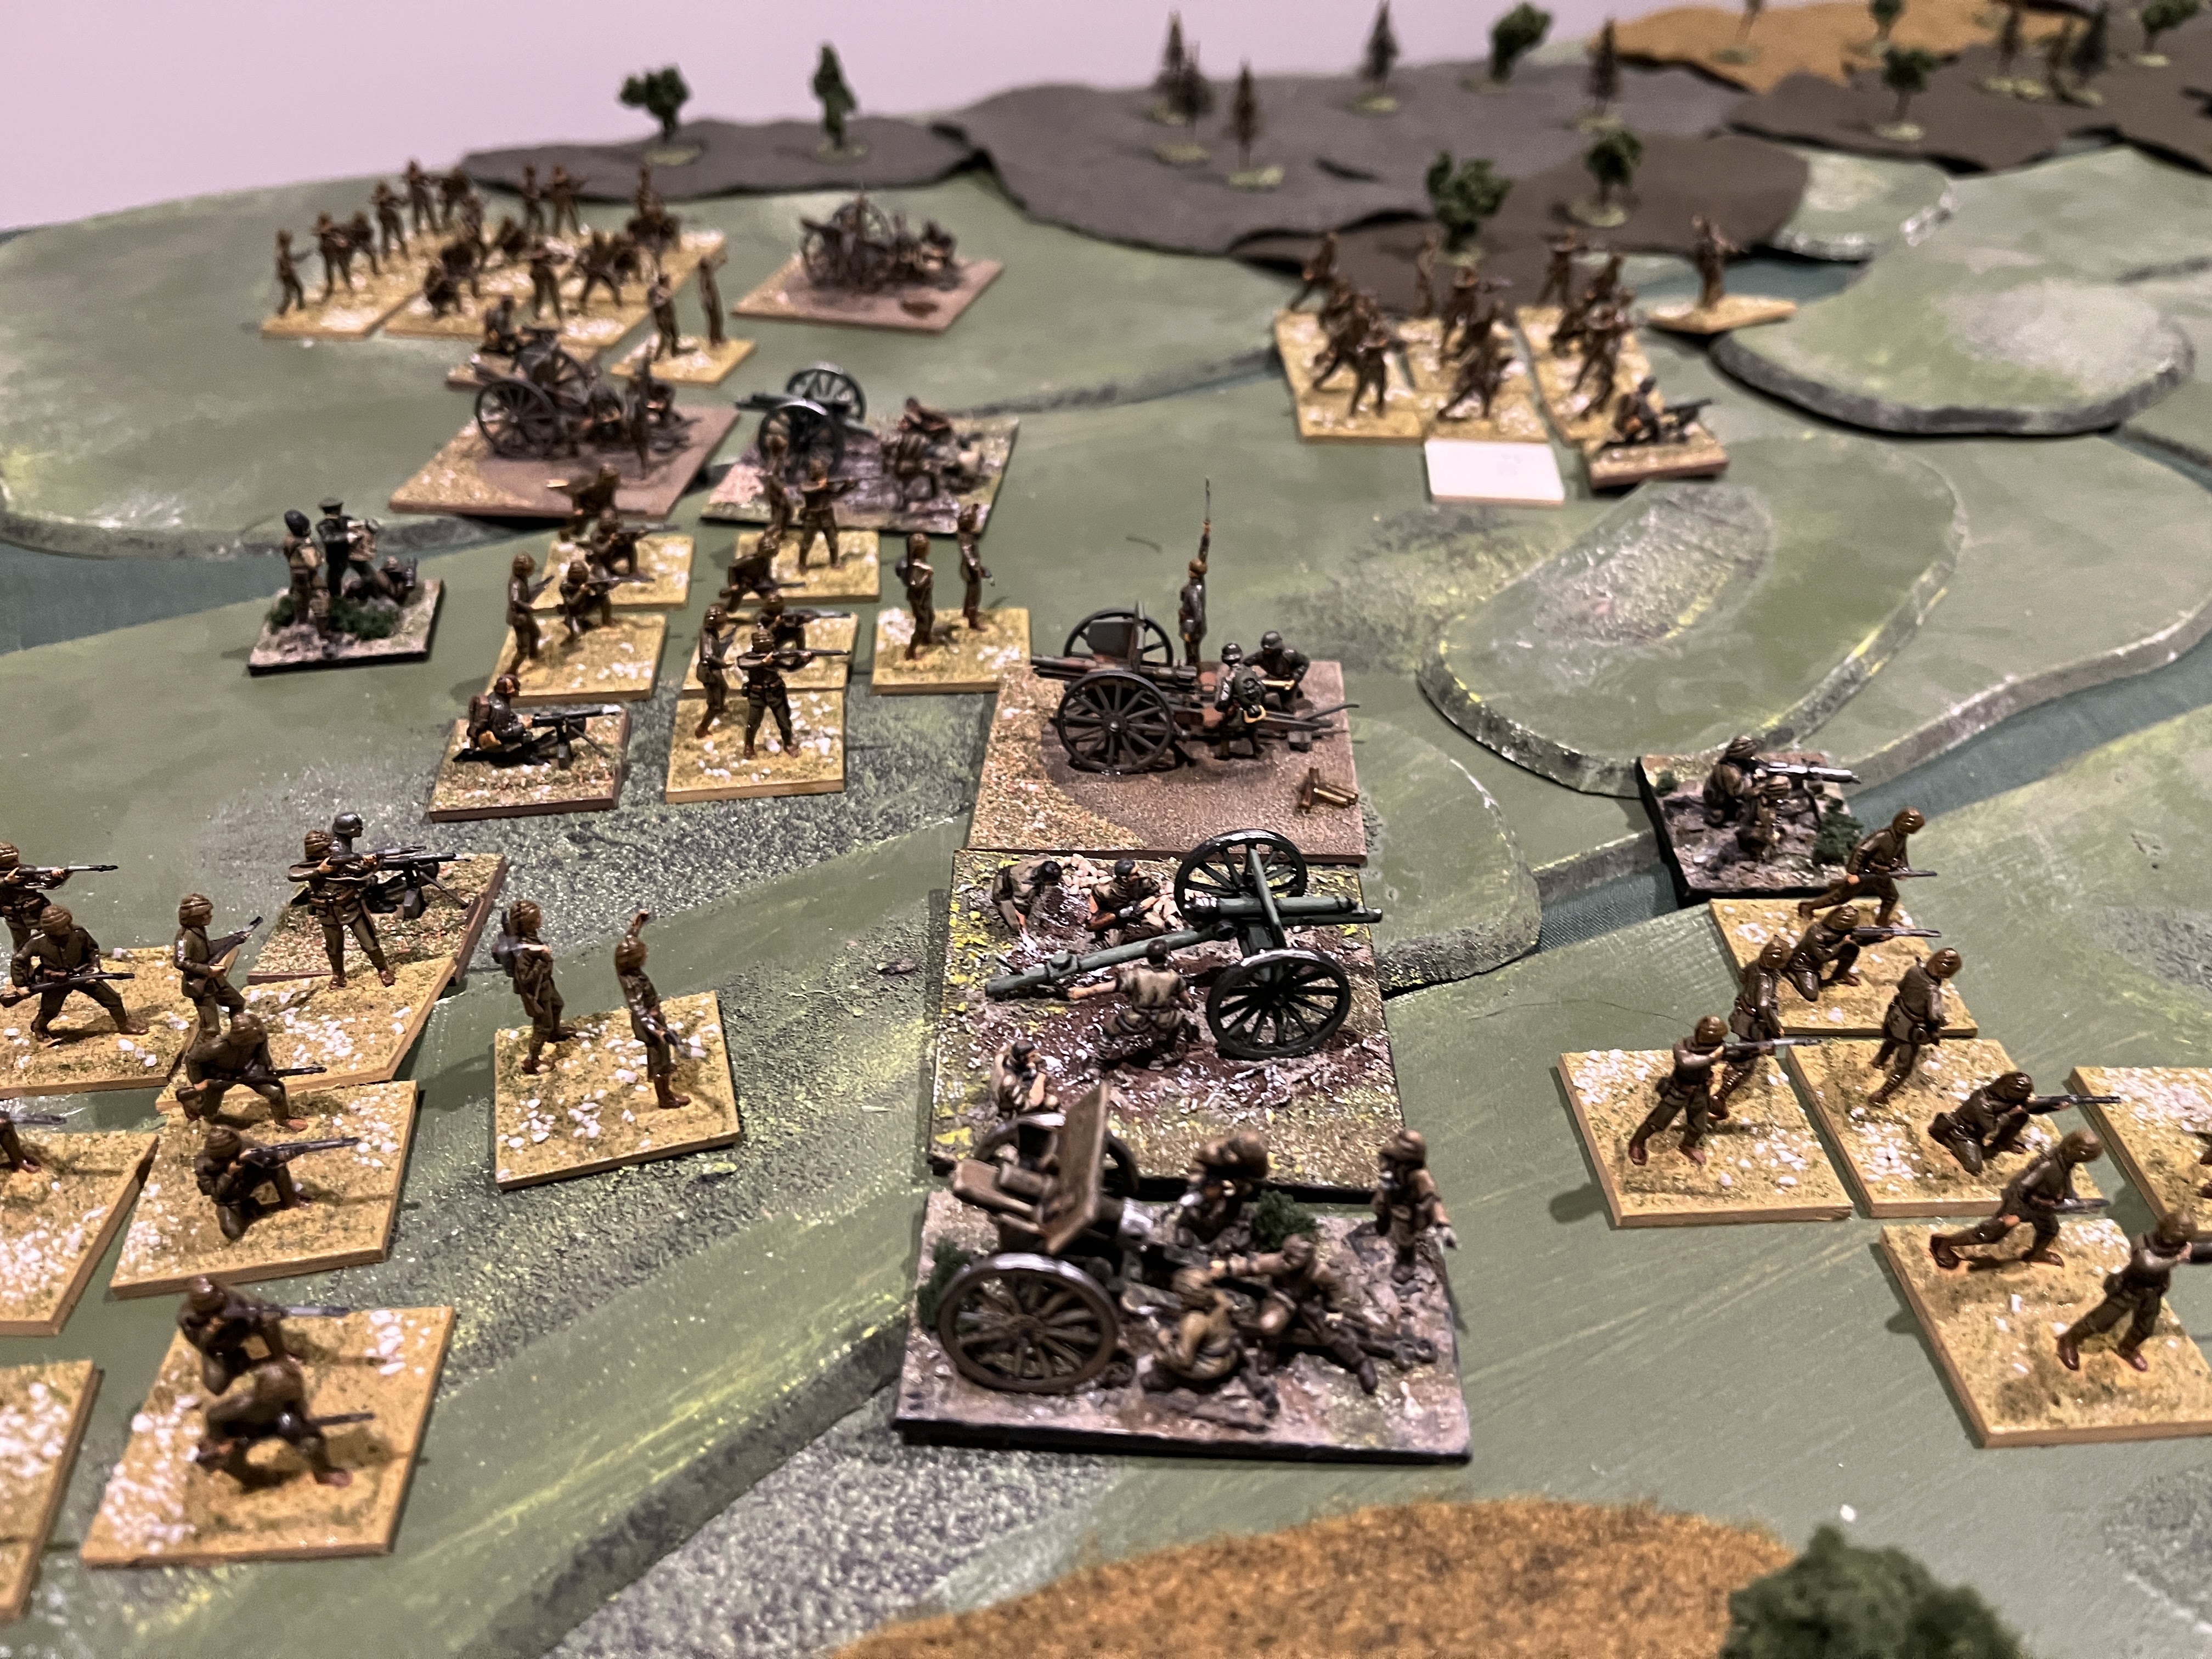
Photos of the initial deployment.
 |
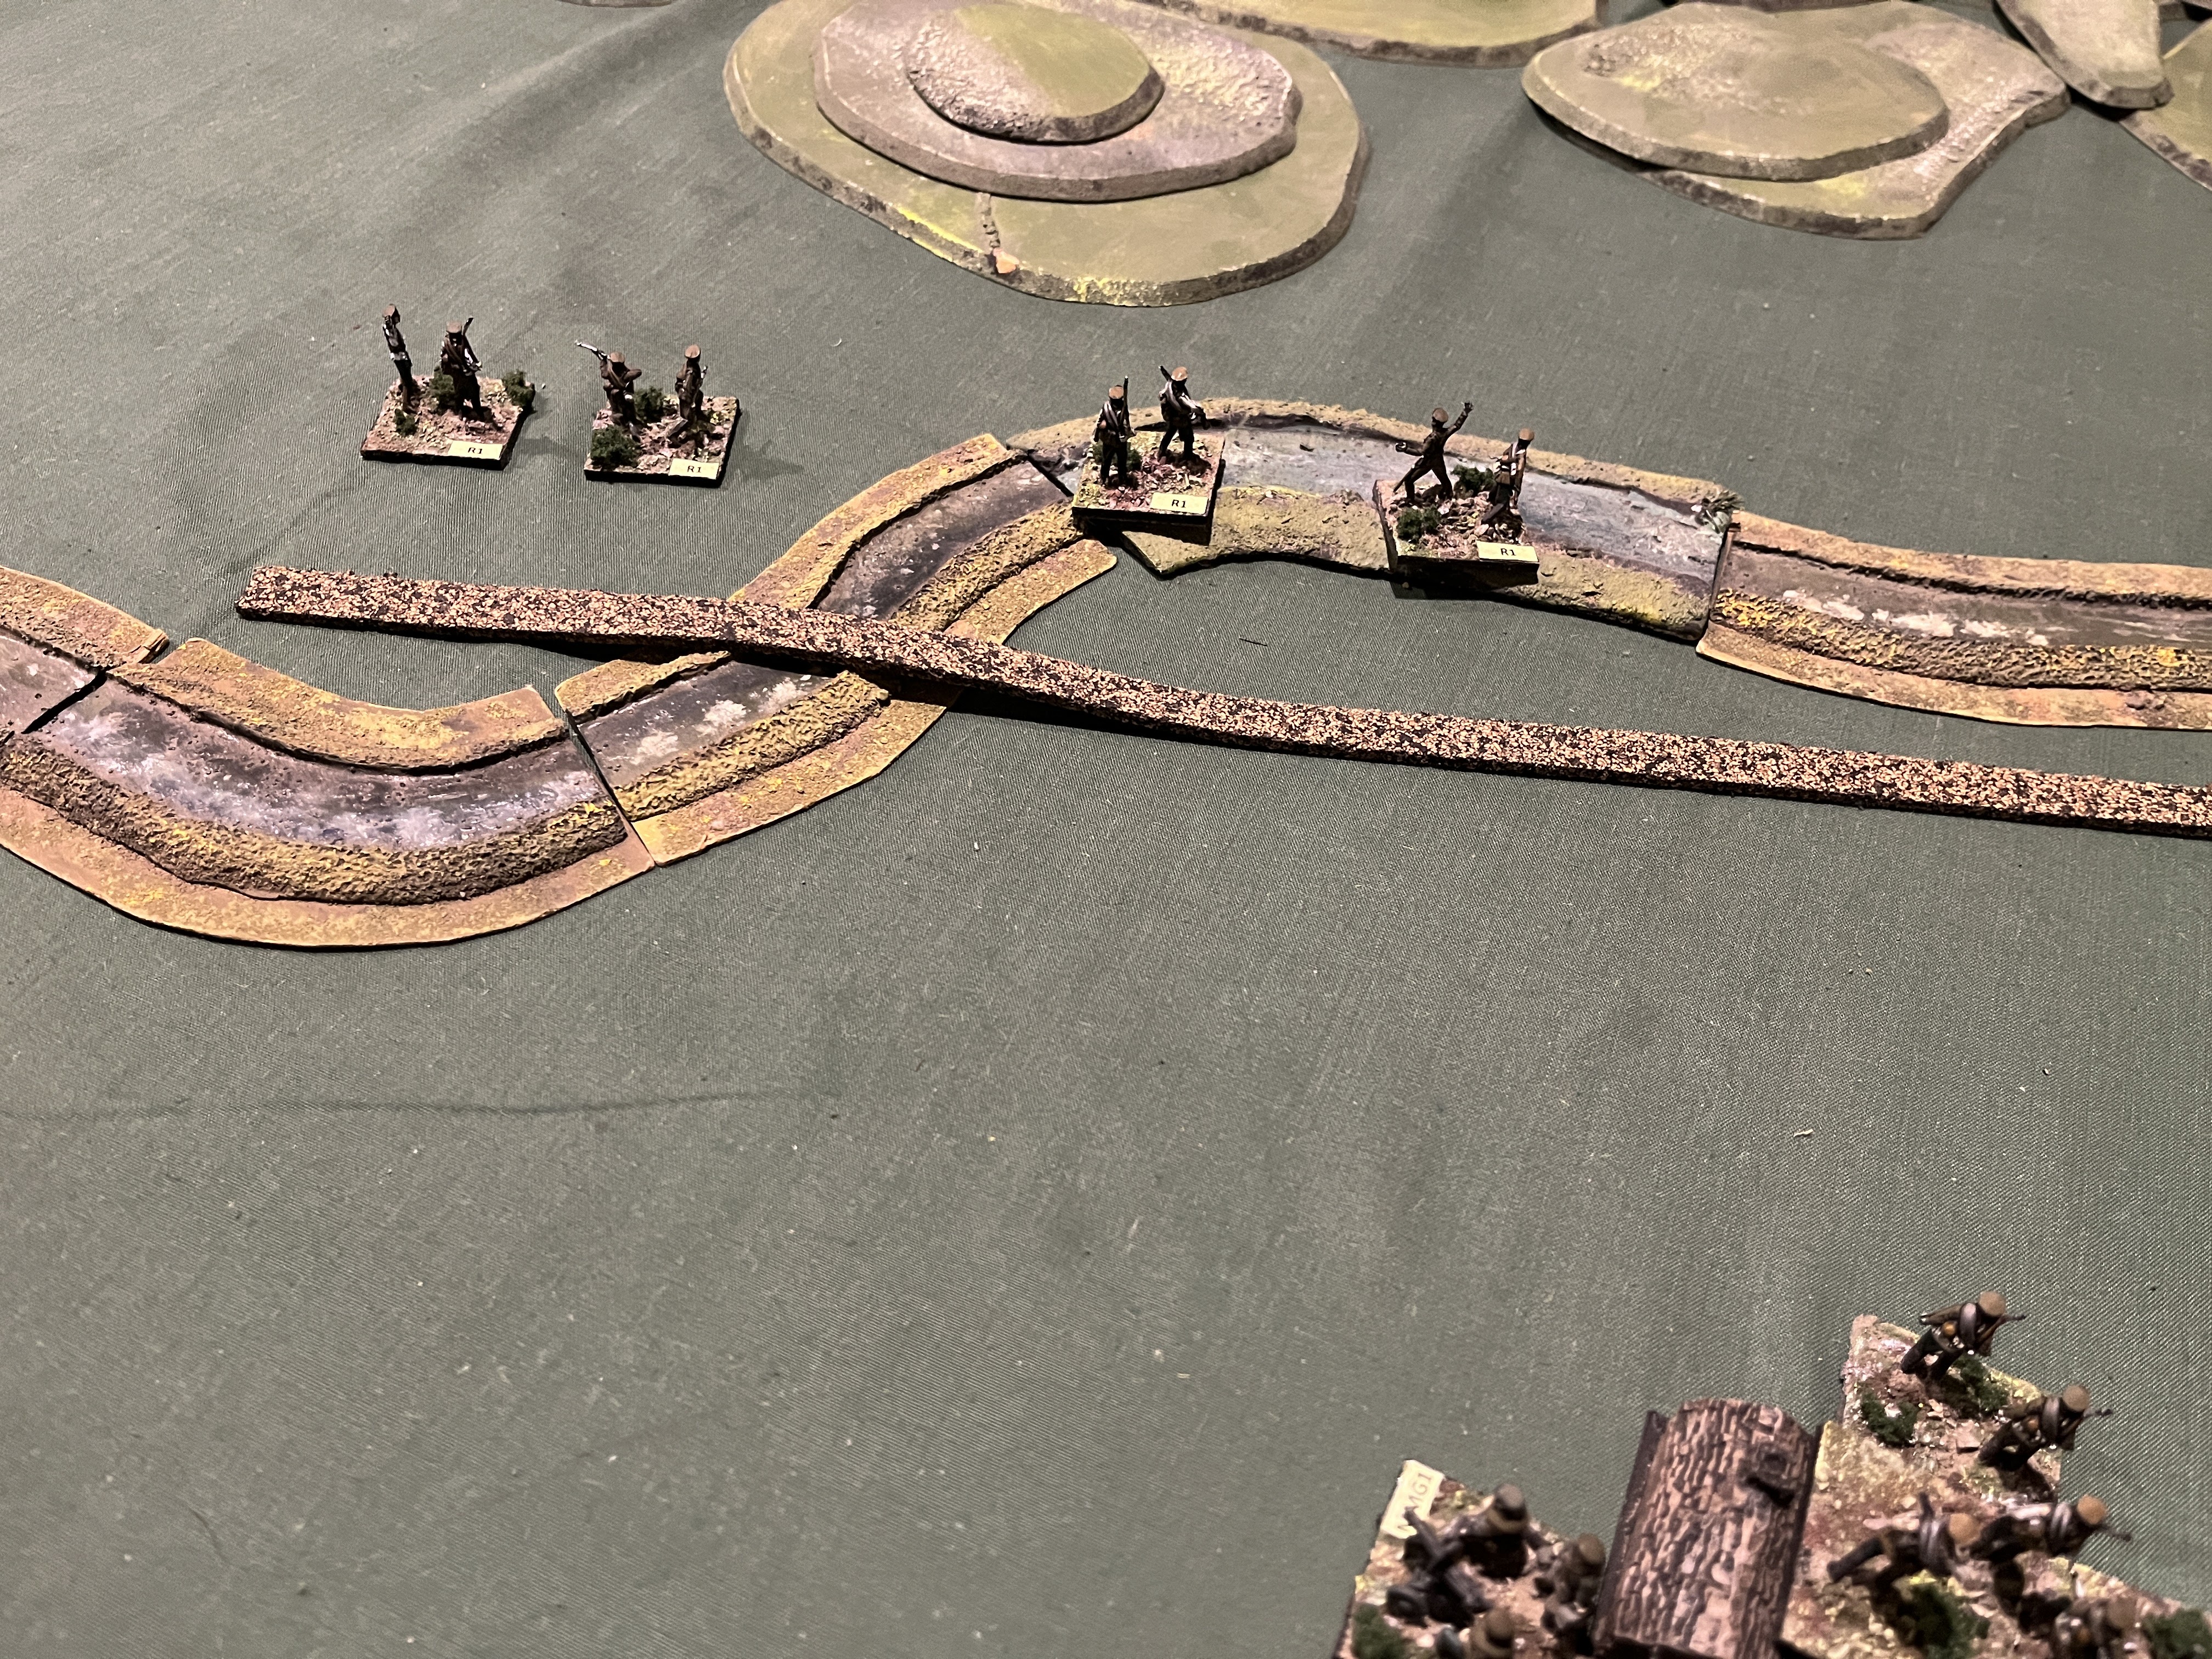
| The brown 'cork' strip represents the railway line. |
As demanded by the scenario, the Turkish forces were subject to the variable strength rule, something that balanced the scenario quite nicely. Drops in strength varied from 20% to 60%. The photos show the limits of my terrain collection. The battle was fought on a snow covered battlefield, in snowy conditions. This meant that all movement for infantry was halved, and wheeled artillery moved at 1/3 normal speed. Visibility was reduced to half as well.
 |
| The Turkish advanced regiments, moving through the Bardiz Pass |
 |
| Visual contact is made. Given the benefits of the extra contour, the Turkish advanced regiment sighted the Russian defenders before the Russians saw the Turks. We decided that the Russian reserve could only be committed (i.e. the arrow could only be drawn) after the defending Russians had located enemy. The Russian commander had of course marked their entry point before game play began. |
 |
| The most advanced Turkish regiment, on their right flank, was also one of the smallest, having lost almost the greatest number of stands to frostbite etc prior to t.he battle |
 |
| The right flank Turkish Division had opted to brigade their three stands of 77mm artillery. Here the regiment, attached to the lead Turkish infantry regiment of the division, is deploying for action. |
 |
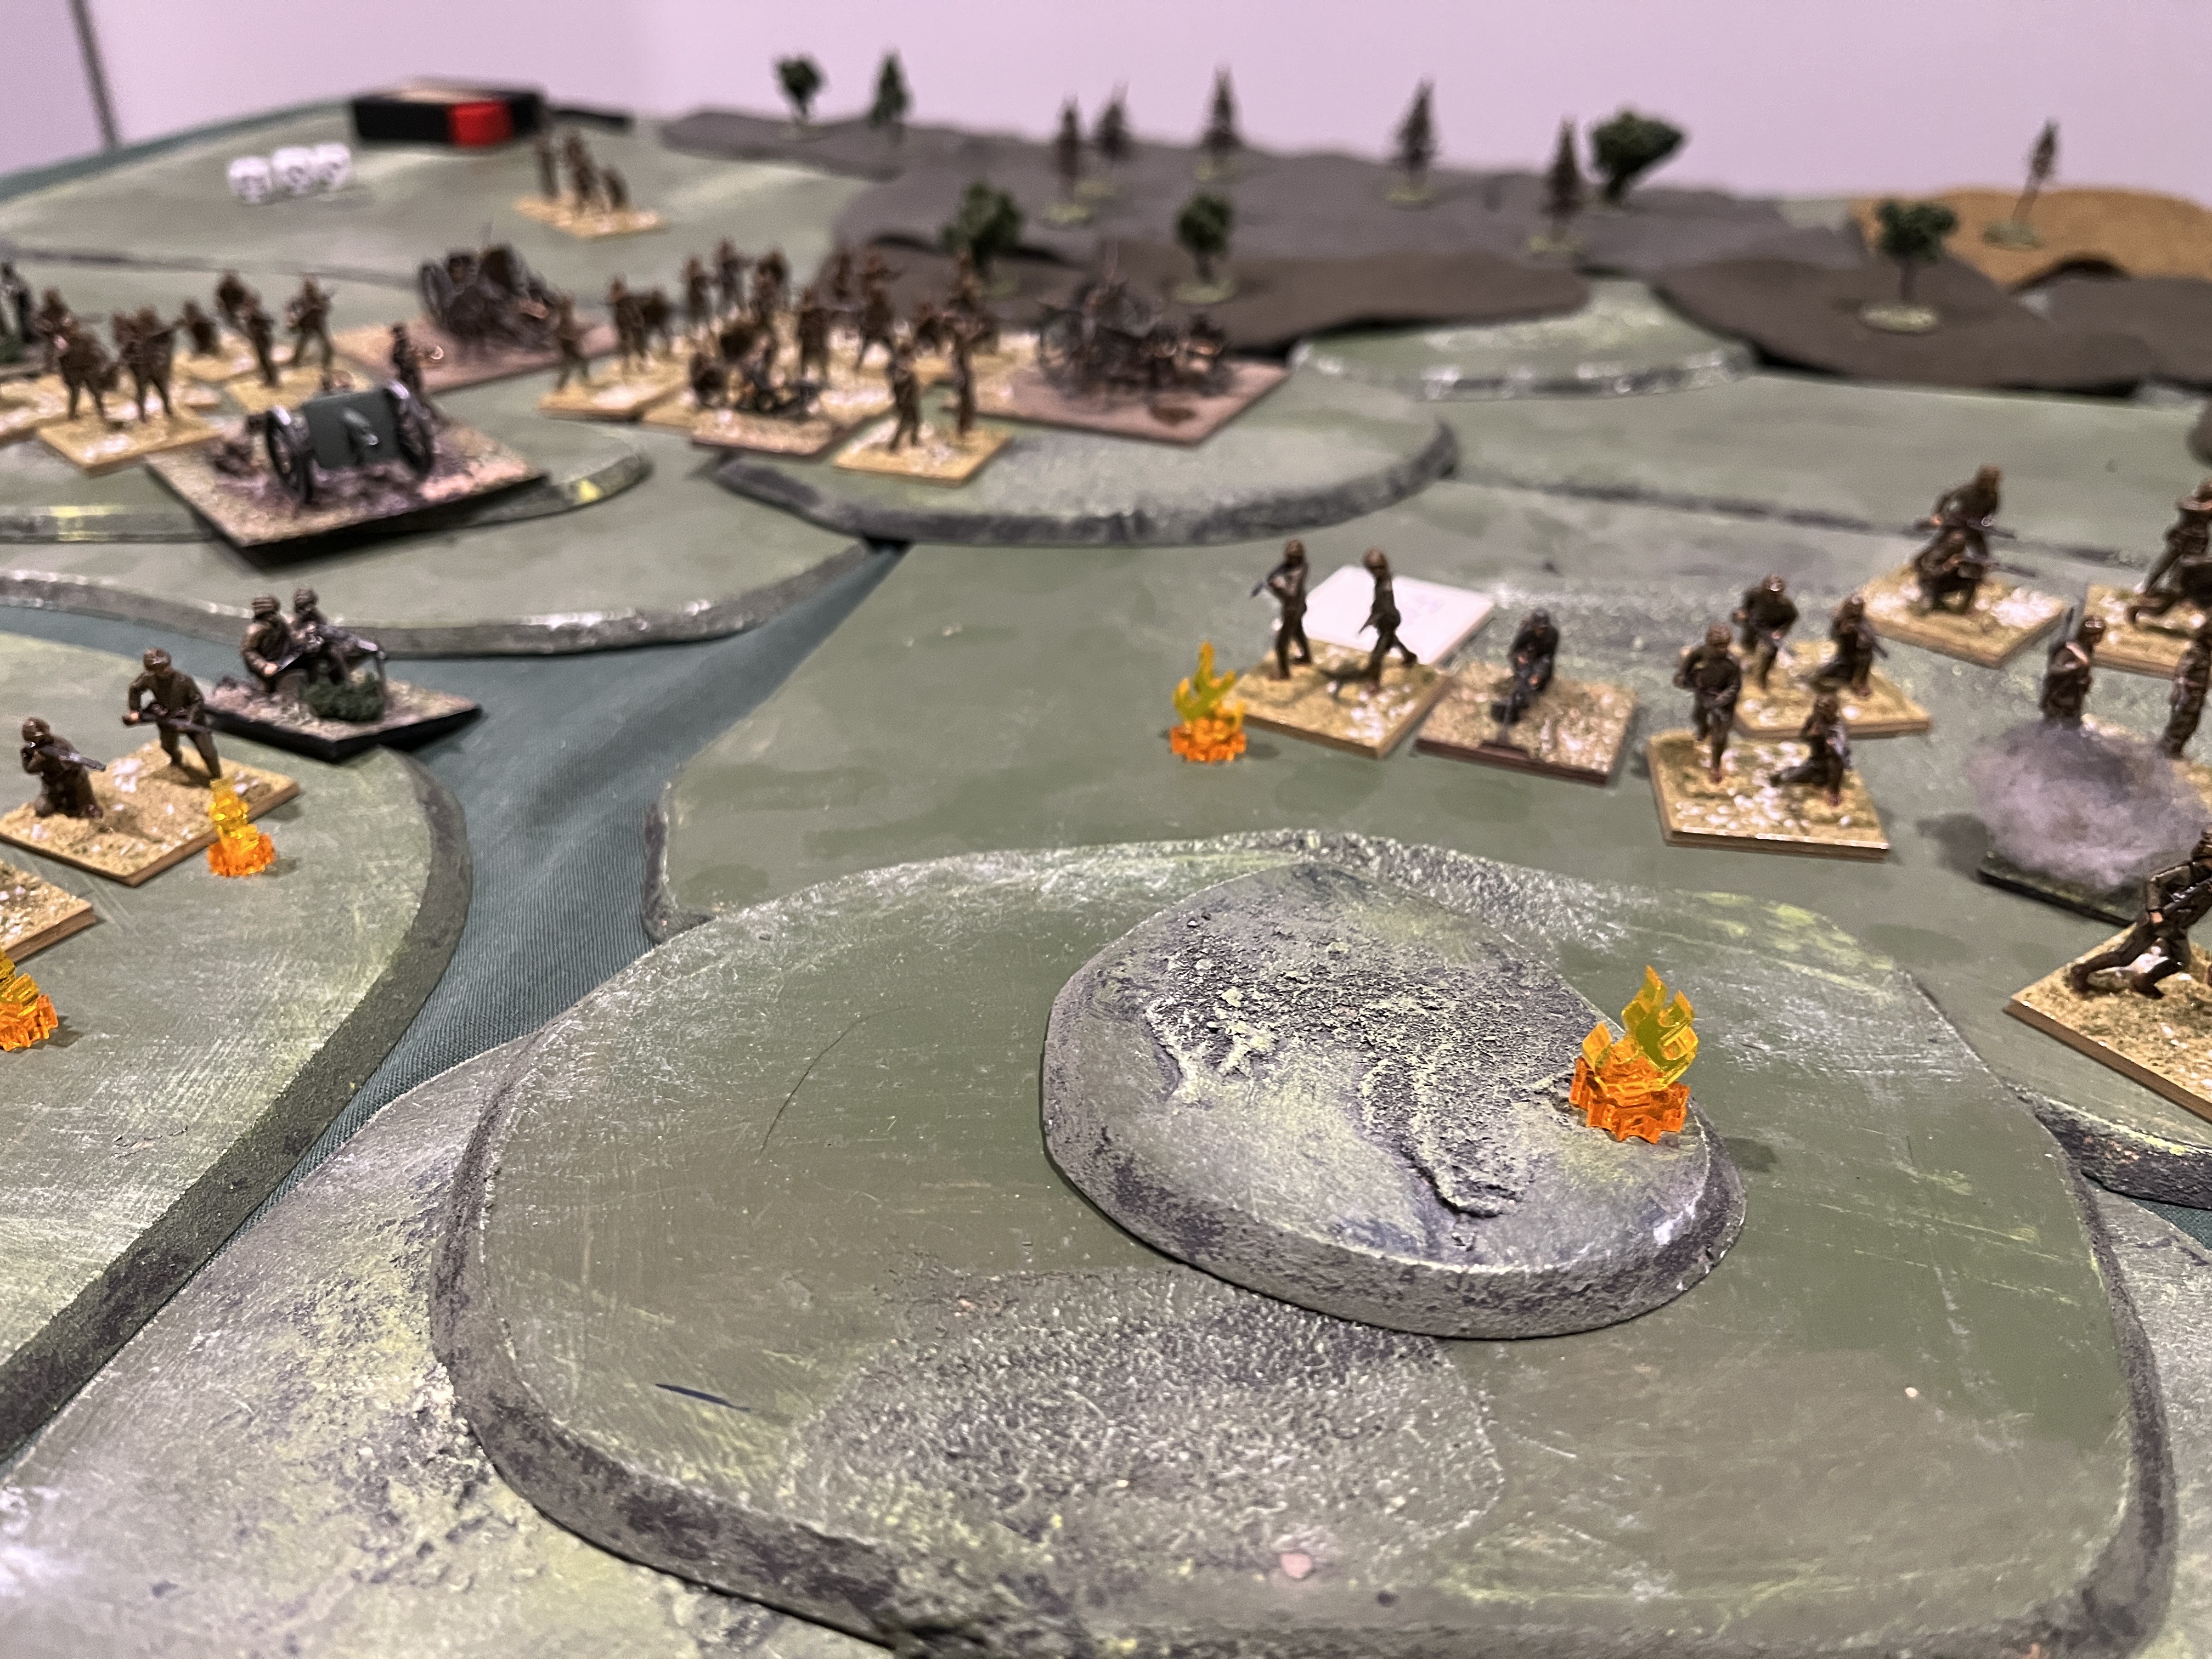
| Action about to begin on the Russian left/Turkish right |
 |
| The firefight begins, the lone Russian 76mm battery joining in |
 |
| Casualties begin to mount |
 |
| The Turkish left flank forces seen at the top of the photo bypassing the Russian troops occupying the heights dubbed 'The Raven's Nest' |
 |
| The Russian reserve has arrived, and begins its slow trek through the snow attempting to hit the advancing Turkish forces in the flank |
 |
| Some of the original defending troops advancing to threaten the Turkish advance across their front past the heights of the Eagle's Nest. These heights had been unoccupied, and the Russian commander realised his error in leaving them undefended. Sarakamis is at the extreme bottom right of the photo |
 |
The firefight continues on the Russian left flank, and the advancing Turkish regiment falls below 50%,
forcing a morale check. However the defending Russians are now also taking casualties. |
 |
| The extreme left flank Turkish regiment moves past the Raven's Nest, attacking defending Russians on the lower heights. The infantry company defending the Raven's Nest has been eliminated, leaving only a machine gun company to hold the position |
 |
| The two Russian companies standing against the Turkish left flank regiment. this may be a little one -sided? |
 |
| The view from behind the village below the Raven's Nest (on the right of the photo) |
 |
| The second Turkish regiment on their right flank advances towards the village. |
 |
| The Russian reserve continues its slow advance through the snow |
 |
| The Turkish centre and right flank |
 |
| Russian defenders on the Raven's Nest are finally eliminated, allowing Turkish occupation |
 |
| The two Russian companies defending the lower heights between the Raven's Nest and the Eagle's Nest are engaged in a vicious firefight |
 |
| One company is eliminated, and the other suppressed.. this is looking dodgy for the defenders |
 |
| The single defending Russian company on the lower heights shakes off its suppression, and is then assaulted by the Turkish troops. One company is repelled by fire, the other loses the melee. |
 |
| Finally Turkish forces occupy the Raven's Nest, but are forced to take a morale check... and fail |
 |
| The Russian reserve is almost within striking distance of the Turkish right flank |
 |
| And the firefight with the Russian reserve regiment begins on the Russian left/Turkish right |
 |
| The last defending company on the lower heights is eliminated, and the Turkish forces continue their advance around the Eagle's Nest (just out of shot on the right of the photo). An assault on Sarakamis must be imminent |
 |
| Bird's eye view of the battle field after 16 turns, the Bardiz Pass lower left, and Sarakamis just out of view top right of the photo |
 |
| One final view from behind the Turkish advance, the Raven's Nest lower right, Eagle's Nest upper left, and Sarakamis top centre. |
This was an excellent game. We had to call time after 16 turns. Given Russian casualties, we estimated that in another 2-3 turns the initially deployed Russian defenders would 'melt away' (no pun intended), leaving just the Russian reserve.
Some suggested clarifications, and approaches, for the scenario:
- The Russian Reserve is committed only once the Russian defenders have located enemy. The usual rules requirement that the defender mark the entry point on the map, along the Russian base line, should be followed.
- Of the initial defenders, the Frontier Guards and the Militia, are both rated as 3rd Class Reserve Infantry. For morale purposes only these two should be treated as a separate regiment from the 5th Turkistani Brigade and the 18th Turkistan Rifles, and designated as Green. The remaining on table defenders should also be treated as a separate regiment for morale purposes only, and classified as Regular.
- The scenario is not clear on weather conditions for the battle. We assumed that not only did snow lay thick on the ground, slowing movement, but that there was also heavy snow falling, reducing visibility. This worked well.
- The game lasted 16 turns, around 8 hours of real time. We wondered if that possibly represented all of the time that the troops would have had available in the actual battle i.e. should there be some sort of time limit on the game anyway, representing the available hours of daylight? Of course we are replicating action over 2 to 3 days, so maybe that speculation is irrelevant.
The snow slowed the game considerably with its reduced movement, but those first turns evolved very quickly in real time, so did not overly slow the game itself. The reduced visibility reflecting the heavy snow falls also changed the feel of the game. It made things very interesting.
As always, the dice are fickle. Andy gained no support from his brigaded artillery for the entire game (he failed every die roll). The second artillery regiment he had attached out to regiments as individual batteries, but its slower movement through the snow made it difficult for him to get these gun batteries into position to support the advance of his left flank division.
A key question following from the play of any scenario is 'would you play that scenario again?'. The answer in this case is a definite YES!!

.jpg)


No comments:
Post a Comment