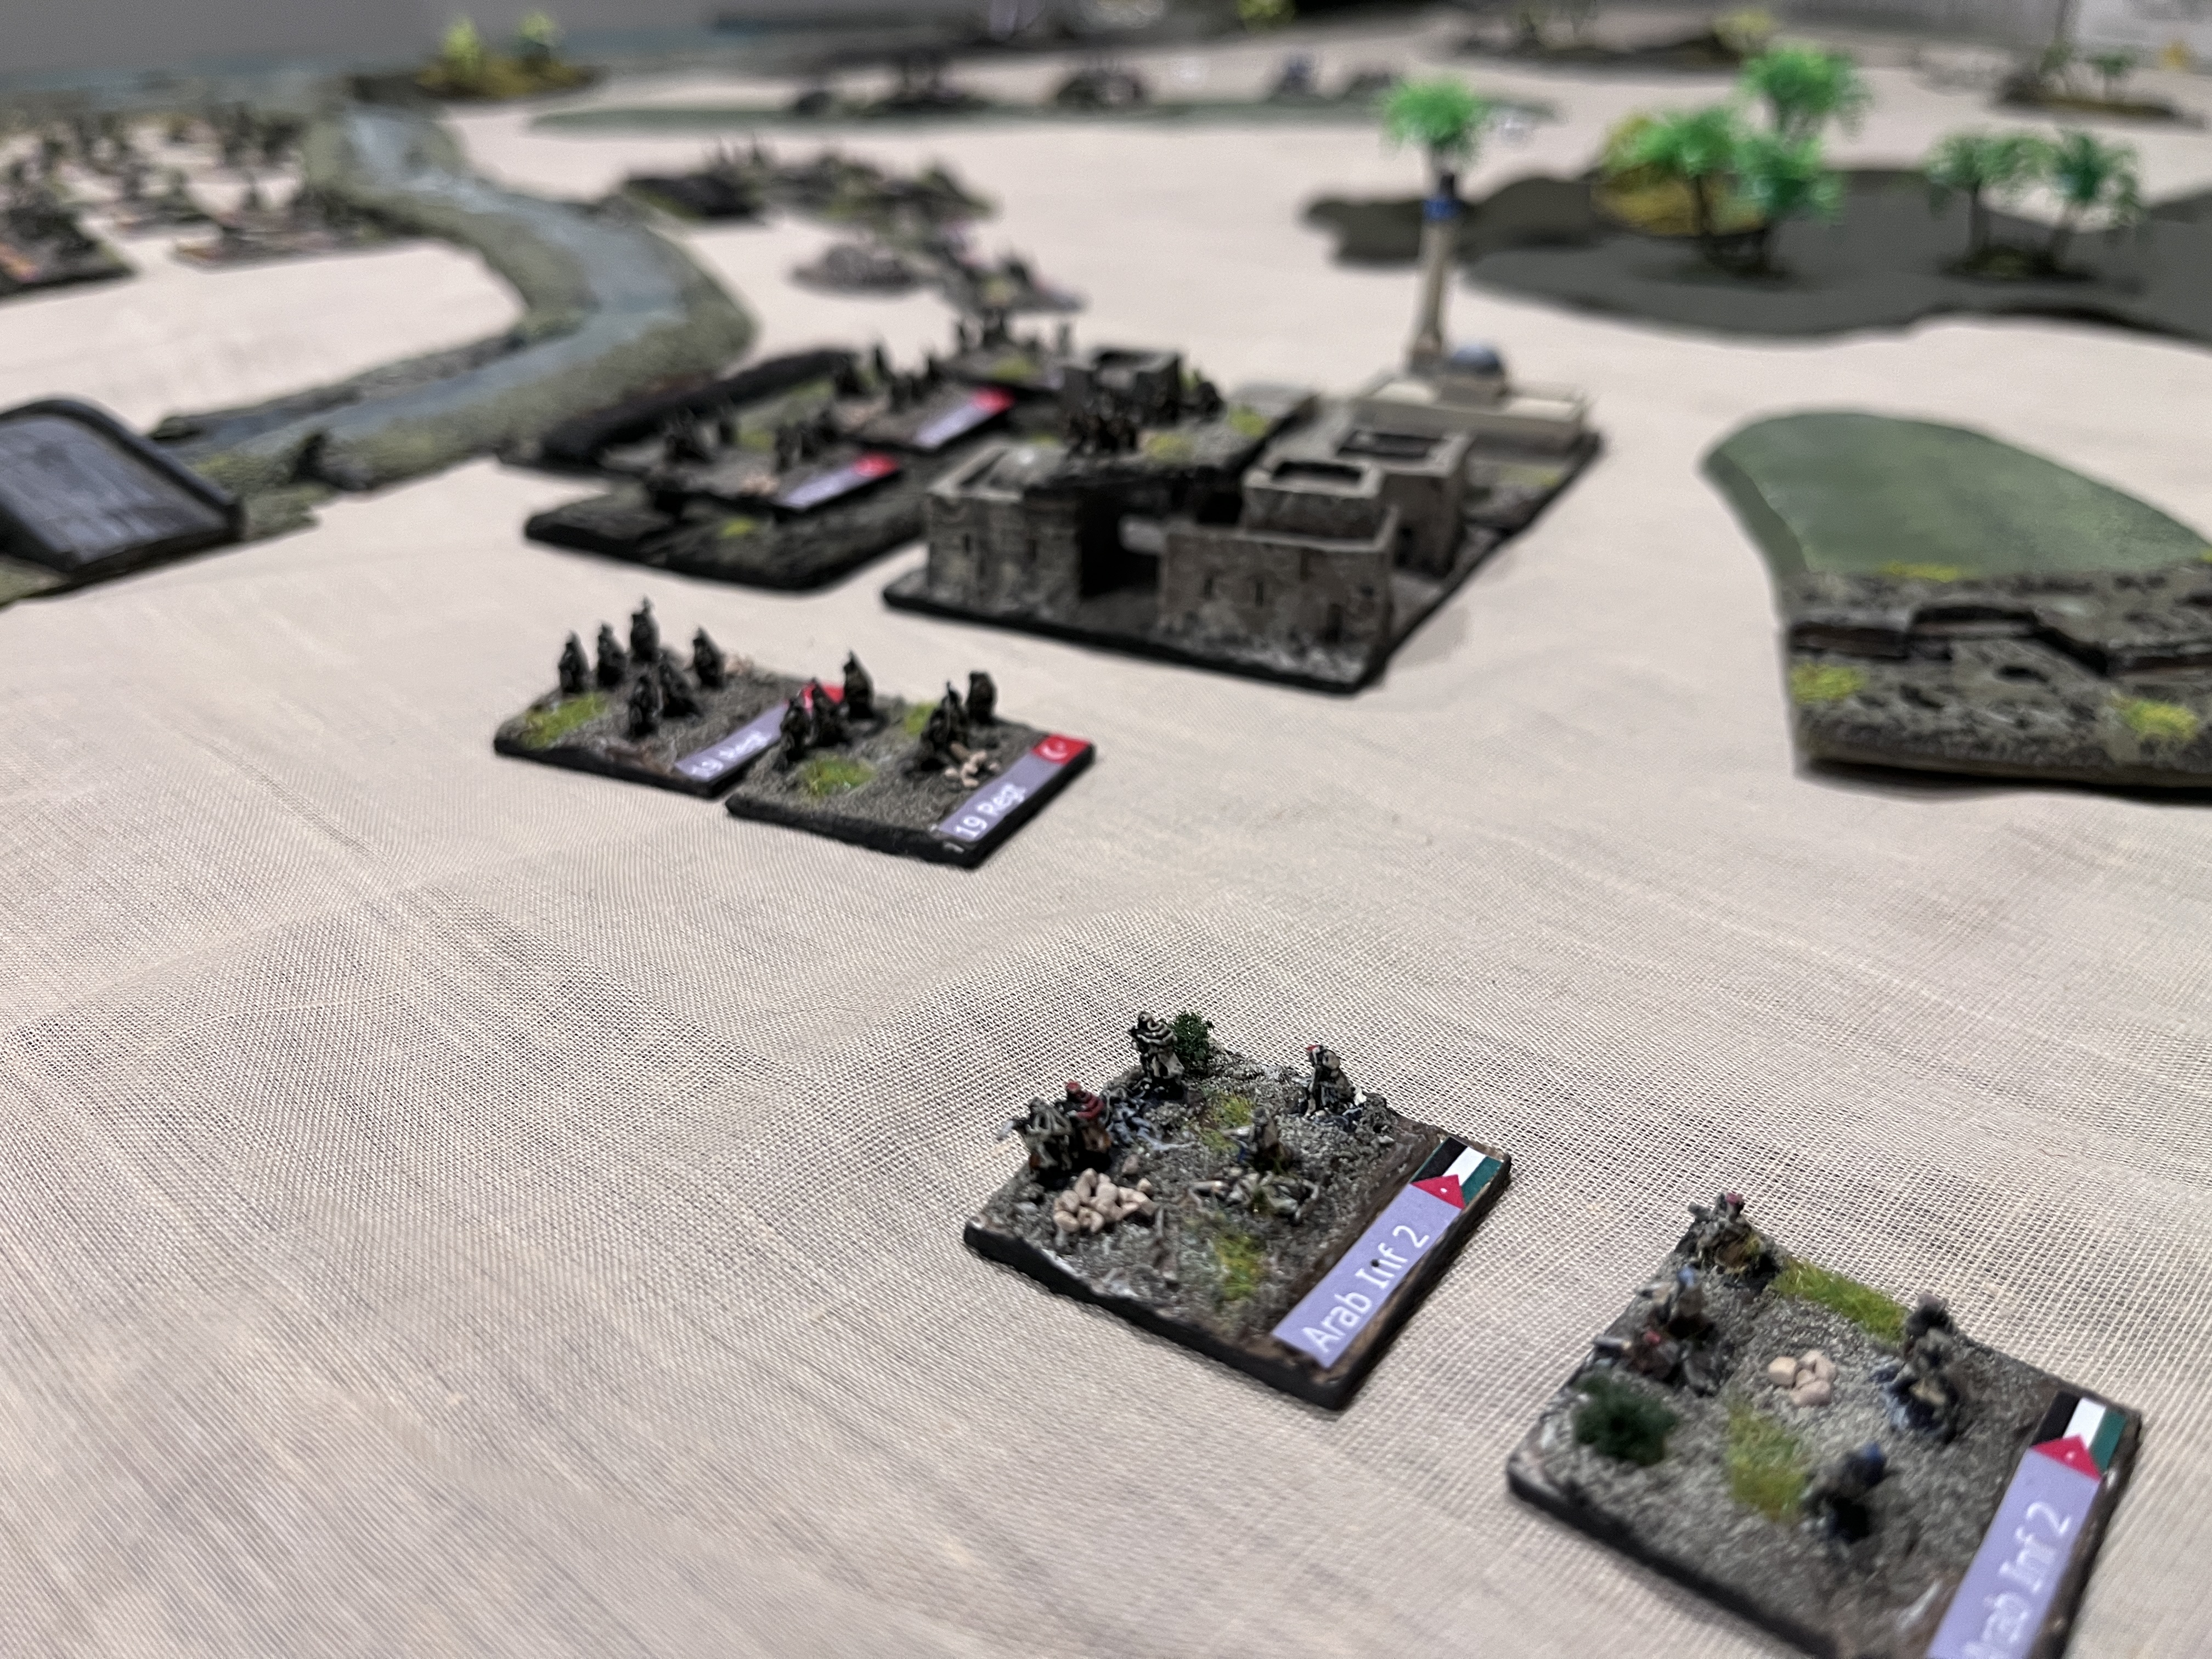
Wargaming actions in the Middle East in World War 1 offers games with more manoeuvre than you might expect on the western front (as do games set on the eastern front, incidentally). Jon, Andy and Murray joined me for this Great War Spearhead game fought using my 6mm armies. The Figures are all from Irregular Miniatures, while the river gunboats are scratch built.
While I have the current scenario books for Great War Spearhead that cover the earlier years in Mesopotamia ('Heart Breaking Affair'), and also the Gallipoli theatre ('Our sons as well'), I opted for a fictional scenario that I designed to capture some of the more interesting aspects of the Mesopotamia campaign, with Arab irregular allies (infantry and camels) to the Turkish troops, and gunboats for the British.
We used some of the interesting rules variations from the Mesopotamia and Gallipoli scenario books. In particular we used rules for river gunboat flotillas, and the less well developed 'forts' that the Turkish army had developed, from the Mesopotamia book. We also used the beach landing rules Robert and Shawn devised for the Gallipoli campaign. My solo gaming experiments with these rules showed that they created a good simulation of the disorganisation, and the constraints, that those landing troops appeared to have experienced.
We also decided to make the following rules changes to accommodate the scenario:
- The British brigade making the amphibious assault down the river was not required to remain within the divisional command radius
- The Arab irregular units were not required to stay within a specific command radius of the Turkish regulars, and would not count towards unit strengths for morale checks
- The British commander would choose a specific landing point for the amphibious assault, but there would be a random element that might shift the site of the actual landing. The British commander would not draw the command arrow for the amphibious assault until the brigade landing site was established.
The scenario has the British 6th Division advancing alongside the Tigris, with a brigade allocated to advance up the river and land behind the Turkish lines, supported by a gunboat flotilla. The Turkish 7th Division is defending, with one regiment in defence, supported by some Irregular Arab infantry and camelry. They have been able to establish some rudimentary defences which include a simple fort on the banks of the river. In reserve the Turkish commander has a second regiment of the division. This regiment will not be able to enter the table before turn 7 of the game.
 |
| The battle field from behind the axis of the main British advance, the Tigris on the left. |
 |
| The British plan saw two brigades advance parallel to the Tigris, with an amphibious landing near the fort established by the Turkish forces on the banks of the river |
 |
| Turkish troops occupying the main town, with light entrenchments and wire defending the front |
 |
| A small village occupied by Turkish regulars on high ground on their centre right towards the river, supported by a battery of 75mm field guns |
 |
| The advance continues |
 |
| The view across from the Turkish left flank |
 |
| Turkish and Arab companies from their extreme left advance to cross the river and threaten the British right |
 |
| The main British forces advance towards the Turkish lines, and a fire fight commences. A regiment of 18pdrs are deploying along the tree line on the left to support their infantry |
 |
| Both sides are taking casualties, but of course the British can absorb these, the Turkish forces cannot |
 |
| The Turkish threat to the British right develops as companies push across the river, the right flank of the British can be seen top right in the distance |
 |
| Pushing across the river |
 |
| Two stands of Arab irregulars have turned to attempt to delay the British advance along the river |
 |
| The battle overview, the fire fight gaining intensity in the middle. The Turkish counterattack on their left can be seen at the bottom of the photo. They are taking fire and are held up. |
 |
| Only the artillery battery is left holding the Turkish centre, the larger blast markers denoting artillery fire on the defenders |
 |
| The British centre now advances en masse supported by the field artillery regiment. Gaps reflecting casualties from the Turkish fire are evident |
 |
| One of the two defending Arab stands is left on the Turkish right, the other destroyed by fire |
 |
| Trouble on the Turkish left as the counter attack struggles forward under fire |
 |
| The Turkish right on the banks of the river under British assault |
 |
| The British amphibious assault from the Tigris arrives on turn 7. It has displaced 12" further down the river than planned. It was planned to land immediately opposite the fort on the left |
 |
| Turn 7 coincides with the arrival of the Turkish reserves, a second regiment. The Turkish commander decides to commit the reserve against the main thrust of the British attack, the two brigades assaulting parallel to the river. |
 |
| The reserves arriving |
 |
| The landing forces take 'ambush fire' from the Arab defenders that had been deployed in cover along the river |
 |
| The last of the Turkish defenders in their centre (the battery of 75s) is eliminated. The centre is open |
 |
| British fire is taking its toll on what remains of the Turkish left |
 |
| The British troops on their extreme left on the banks of the river assault the lone defending Arab unit |
 |
| ... and eliminate the defenders. Nothing is left to hold up the advance on the Turkish fort further up the river |
 |
| More fighting on the banks of the Tigris, the defenders now taking casualties, with the gunboat flotilla adding some much needed firepower to their attack. The gunboats can be seen top centre of the photo. |
 |
| .. and the Turkish counter attack still struggles, caught trying to advance across the open ground across the river |
 |
| The defenders of the village towards the river on the Turkish right now come under fire |
At this stage the Turkish position is lost. Their centre is wide open. Their reserves are too are away to stop the advance, and the initial defending regiment has now lost 50% of its strength and fails its morale check. The British advance up the Tigris continues.
We'd forgotten much in the time since we last played (over a year, having been used to a diet of Volley and Bayonet, HotT, and DBA), and the scenario design had some faults, which I'll correct before next time.
Reference:
'Battles on the Tigris', Ron Wilcox, Pen and Sword Military, 2006