Our battle of a week ago had amore profound effect, and I decided to write this up in a different way to highlight what I believe is the great strength of this games system.
Keith's scenario generation system generated a meeting engagement, with each of us using defend lists. My own list composition is important to the discussion. I had taken an armoured regiment, and two mechanised infantry battalions, the armour and infantry cross attached to create three combined arms battalions. The force had two regiments of larger heavy artillery for counter battery fire, and a battalion of Abbots in support, There was also an air presence with a Harrier flight and FAC, and a Lynx flight. (the Lynx flight the result of me taking an Option A as an addition to my list, producing a 1 point VP penalty. Th defend lists mean that troop densities are much lower for both sides.
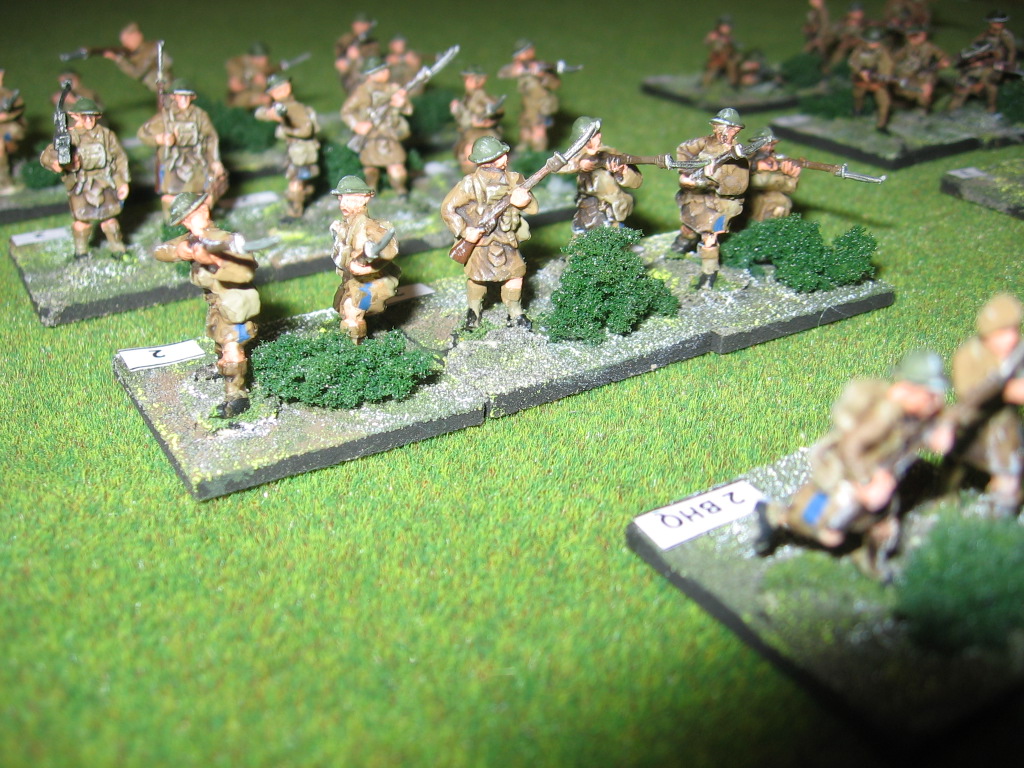
The first photo shows the battlefield, BAOR advancing from the left, Soviets from the right.

I decided to advance two battalions into two of the objectives behind the river, and then to adopt a defensive poster in the hope that I could score additional VPs by inflicting morale checks on Soviet battalions. My third manoeuvre battalion was held in reserve, its entry point to be on my right flank. I was expecting the Soviets to attempt to take the right objective s(my right flank, that is) and then attempt to sweep onto my flank. I wanted to catch them in their own flank as they swept around.
 |
| The BAOR advance on the left and central objectives |

Keith seemed to have taken the bait, advancing against the unoccupied objectives. He admitted that he expected the main battle to occur there, and was surprised that I hadn't attempted to take those objectives myself.


 |
| The Soviet advance against the BAOR right flank |
Keith 'wrong footed' me on several levels. First he took long range SAM 2 for AA cover (in addition to on table non radar controlled AA), and so my M107 and M109 heavy artillery was outranged. I was unable to neutralise his AA umbrella.
Secondly he deployed two flights of HIND 24 attack helicopters. This exploits what in my opinion is the biggest weakness of BAOR forces, lack of adequate AA cover of their own. I had off table Rapier, and on table blowpipe. Keith located my Rapier battery and neutralised it with his own heavy howitzers. The Blowpipe were ineffective against his helicopters.


He then pushed a motorised infantry battalion across the river and attacked my own right flank.

The Hinds successfully took out the Chieftain tank support of my right flank battalion.


 |
| The BAOR right flank under direct attack from the Hind |


 |
| The diminishing strength of the BAOR right flank can be seen in this succession of photos |

In the absence of targets my Lynx was allowed to move off its waypoint to attack further Soviet armour, bringing it into range of the Hinds. We hadn't realised until this game that in this case the enemy helicopters became a target priority for the Hinds, so shifting my Lynx across to attack additional enemy armour actually protected the ground battalion from additional air attacks.
 |
| The Lynx flight hovering above the ground troops |

My right flank failed its morale check and withdrew from the field.

Reflections (I sent these thought to Keith after the battle):
Keith's most profound success (amongst many BTW) was to take away from me what I'd thought was the underlying 'grand tactical' approach of playing a combined arms game. Essentially his approach deprived me of the ability to play the divisional/corps level (of table) game (ECW/CB etc). He refused to 'come out and play'. Brilliant!!!
My biggest failing (amongst many) was to become so focussed on that aspect of game play with the Brits that I had actually ceased to play a combined arms game at all. Keith on the other hand did, and the outcome was arguably never in doubt.
It continues to be true that in order to win with the BAOR you have to use ALL components of the forces available, and this I failed to do. That said, I also failed to create a convincing plan at the tactical level either (another significant failing).
So, where does that leave the Brits? NOT on a hiding to nothing. The challenges are:
- Get back to basics, recognise that ECW action in order to deploy air support is important but not to become fixated on it.
- Use the variety of options available in ECW more effectively, integrating them into the bigger plan (something else I failed to do last night - in hindsight I think there WAS no plan)
- Engage ALL arms more effectively. I failed to make use of the artillery which had, if you count in the Abbots as well, cost me a lot of points
- Become less predictable in both my list selection and deployment/tactics etc - Keith is now easily able to predict how I might play out the action as my deployment etc unfolds
None of that answers the British AA vulnerability but that said, that cannot be used as an excuse. You have to play your own game.
This is really exciting - NO other games system has me thinking in this way.