The vastness and the difficulty of the terrain through the Caucasus meant that by 1915 there were still avenues to be explored if victory was to be gained by either side. In this fictional scenario a Russian division attacks towards an approaching Turkish division. The Turkish commander had pushed his leading regiment forward to capture the high ground to the north of the Uvarova river covering the town of Koshcheyevo, the regimental commander hoping that the remainder of the division would be hurrying forward to his support.
In this game we framed the tactical situation as an Advance to Contact from the scenario generation system, albeit wth forces that had not been generated using a points system. Each force included a regiment of Corps heavy artillery to supplement the divisional guns. With each game we add slightly more complexity, as we grow in confidence with our return to the rules.
The two bridges, and the village sectors, were all objectives in the scenario. The game was fought between Andy and me, using our 20mm armies, all modelled using the HaT figures.
 |
| The battlefield with the Russian plan, the Russian division advancing from the right (the north). The advanced Turkish regiment was deployed on the 2 contour feature in the centre of the battlefield. |
 |
| The Turkish commander's plan. |
 |
| The advanced Turkish regiment deployed on the 2 contour feature top centre, with two Russian brigades advancing towards them. The right hand of these two brigades was intended to be held in reserve. |
 |
| Overview of the initial advances |
 |
| The advanced Turkish regiment had a regiment of 75mm guns deployed brigaded on table in support |
 |
| The reserve Russian brigade comes under Turkish MMG fire, The removes it form reserve, and so significantly reduces the Russian commander's ability to shape the battlefield with the reserve. |
 |
| The Russian right flank brigade advances to wards its first objective, a village sector on the right. The plan was to take that position on the flank, and then step off on a timed order to assault the main river crossing and town sectors from the flank. |
 |
| With the Russian reserve brigade now no loner in reserves, the commander pushes companies forward to engage the advanced Turkish regiment |
 |
| The Reserve brigade |
 |
| The firefight begins with the Turkish advanced regiment bringing down artillery fire on the spotted Russian companies |
 |
| The advanced Turkish regiment, We chose to use 6mm aircraft models as 'identifiers' of those fighting stands being used as FOs. In future we will try to use 'in period, in theatre' aircraft, but in the meantime ... |
 |
| The Russian right flank regiment, supported by a regiment of 75mm field guns, in the process of deploying |
 |
| The 2nd Russian brigade pushing fighting stands forward. The plan involved them stepping off on a timed order too, to assault the main river bridge in an assault coordinated with the right flank brigade. |
 |
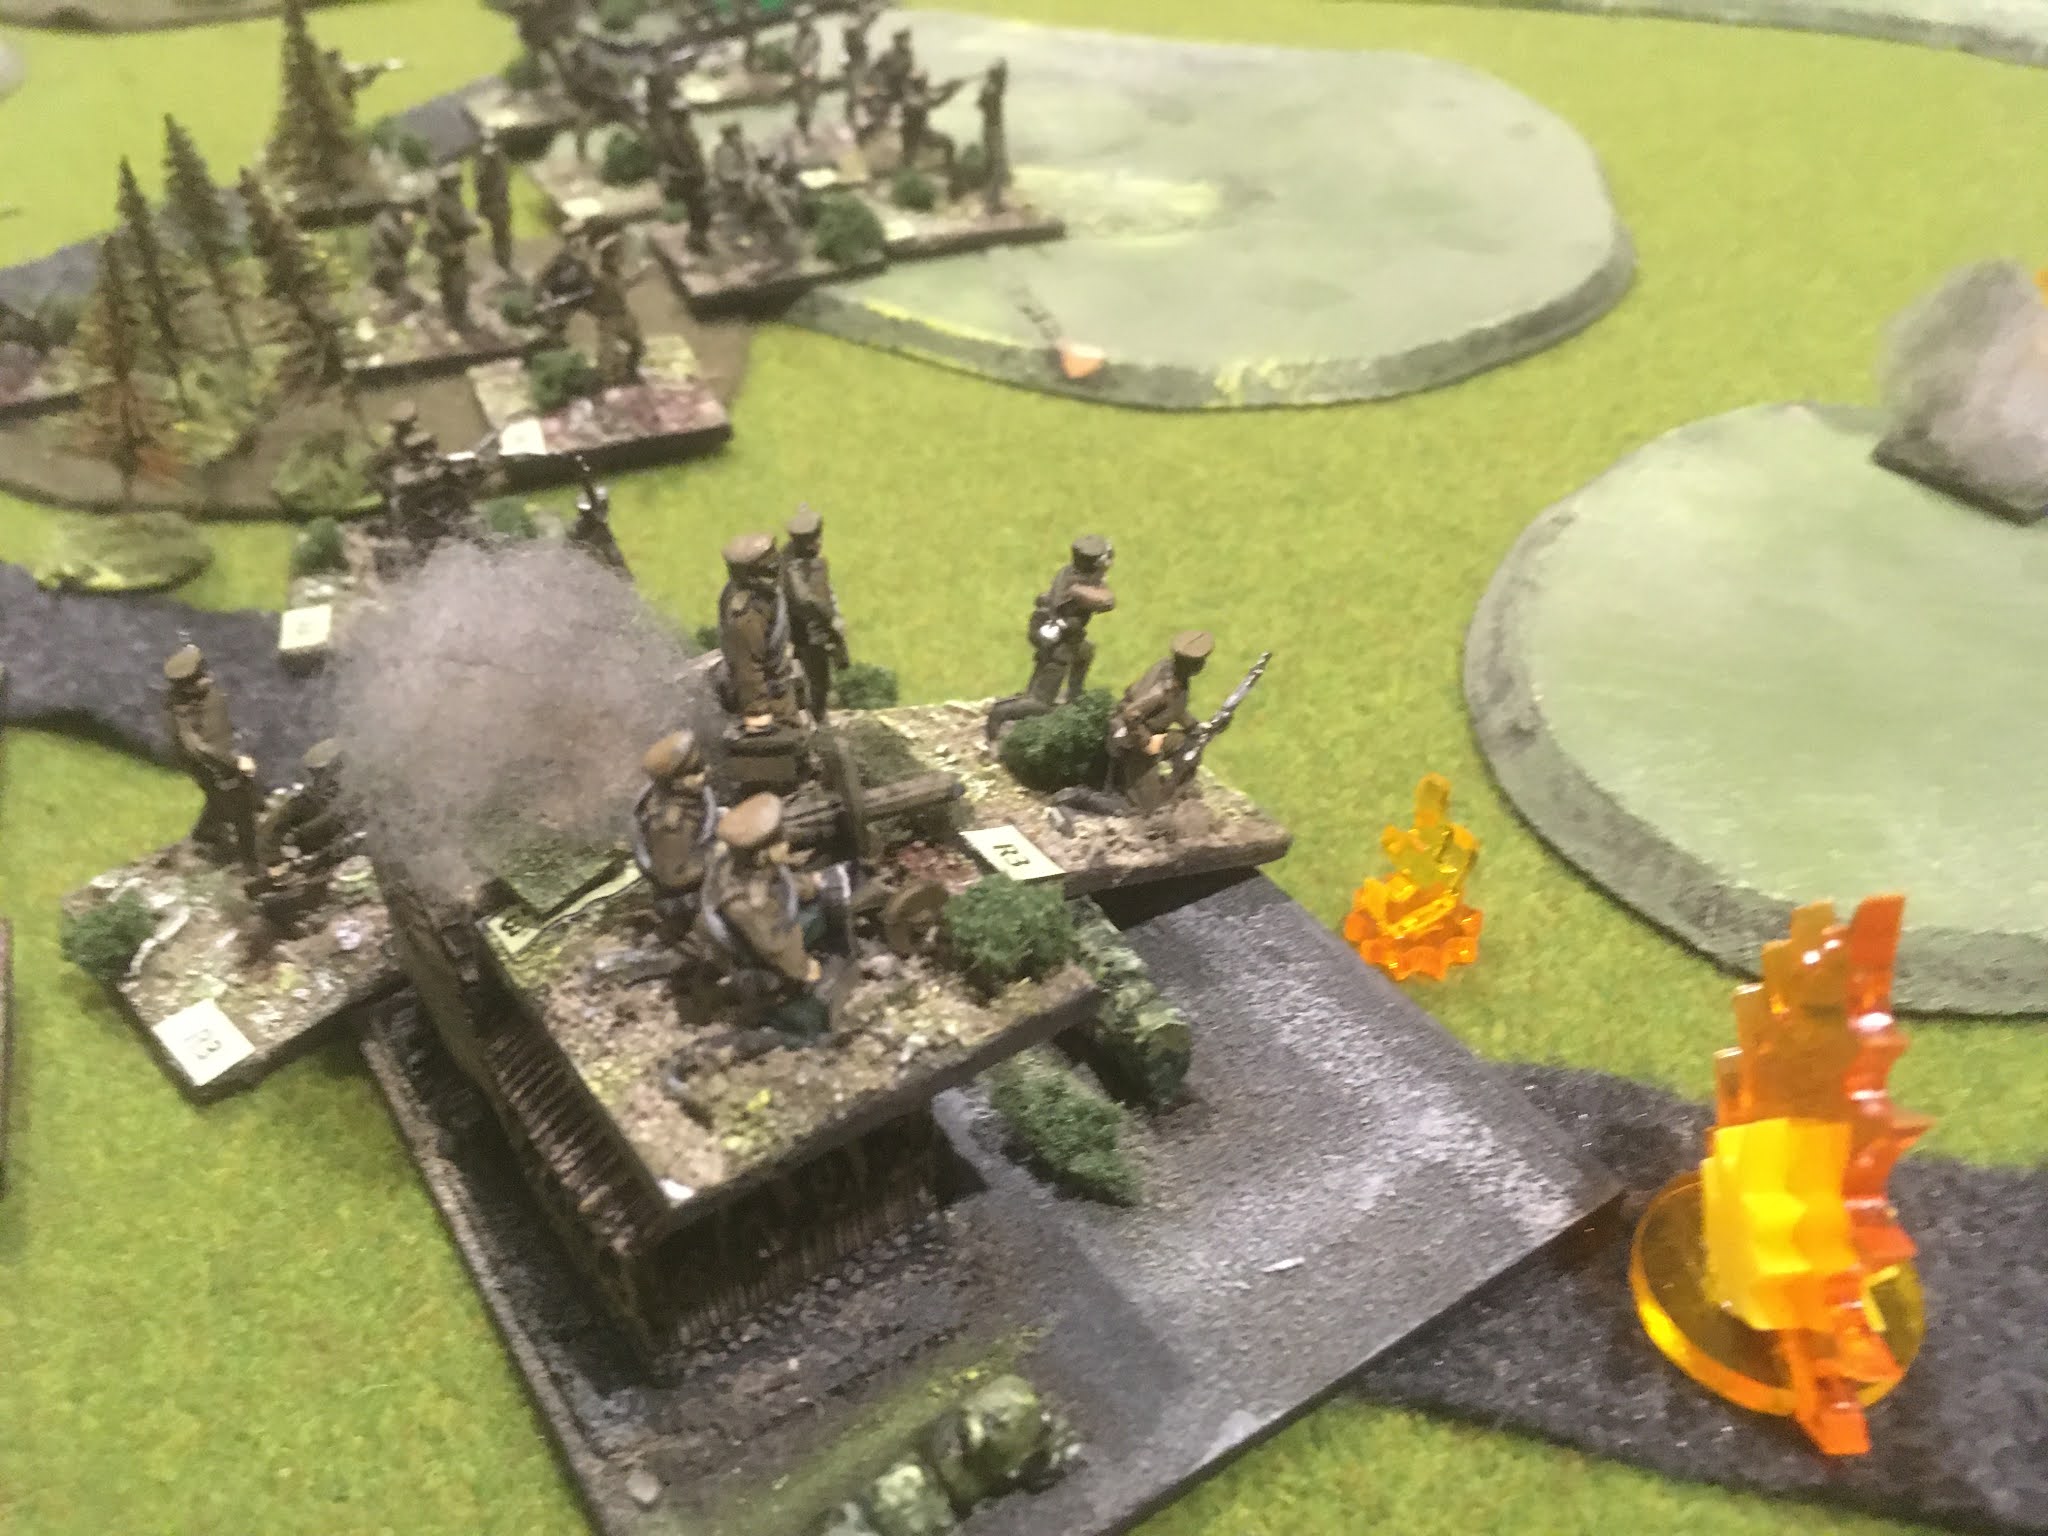
| Manoeuvring individual fighting stands against the Turkish advanced regiment. Of note is that the 2nd and 3rd Russian regiments had not advanced to provide close support t=for the advanced regiment. |
 |
| The Russian left flank brigade, with spotted enemy, manoeuvres fighting stands forward to apply more pressure in the firefight |
 |
| Intense fire from artillery and small arms causes casualties on both sides |
 |
| The right flank Russian brigade swings left at the end of its command arrow. |
 |
| The advanced Turkish regiment suffers heavy fire and mounting casualties |
 |
| However the opposing Russian infantry are sharing a similar experience |
 |
| Artillery fire starts ot fall on the Russian right flank brigade |
 |
| Fewer and fewer stands remain in the advanced Turkish position |
 |
| Russian artillery fire starts to fall on the Turkish left flank |
 |
| Fewer and fewer Turkish stands in the centre |
 |
| But the Russian brigades are not having it all their own way |
 |
| The Russian right flank brigade charge forward, perhaps slightly precipitously. Heavy fire falls |
 |
| The Russian infantry assault the Turkish infantry |
 |
| The Russian 2nd Brigade has also stepped off to support the right flank assault |
 |
| Fighting stands from the Russian 3rd and 4th Brigades advance to put more pressure on the Turkish centre regiment. Efforts to change orders for what had been the Russian reserve, to initiate a general advance fail repeatedly. |
 |
| Casualties now pass both the 50% and 75% marks in the one turn. While the regiment passes the first morale throw, it fails the second, and the entire Turkish centre is a gaping whole |
 |
| The right flank Russian brigade assault fails, with significant casualties |
While in terms of our evening we had run out of time, the overall position was now reasonably clear. The Turkish centre had disintegrated, and the left was under extreme pressure. The only factor limiting the Russian progress would be the ability of the divisional commander to get new orders through to his brigade commanders.
In victory point terms, the Russian force had 6 to the Turkish 3.
Perhaps the Turkish deployment had seen the advanced brigade lacking support, with the division spread too thinly for regiments to support each other.
As the Russian commander, I had allocated the corp guns to counter battery fire, preferring to use the WW2/Moderns Spearhead approach to CB fire. The guns were singularly unsuccessful throughout the entire battle, not getting to fire a single round (read that as - a series of 1s and 2s on the dice throughout the game). This meant that the Turkish artillery was able to fire unimpeded. The Turkish commander allocated his heavy corps guns to fire support of his advanced regiment. It did quite some damage.