Scchhhht "Niner this is One Zero Alpha, sitrep over" Scchhhht
Not even a radio squelch circuit could disguise a whispered nervousness
Scchhhht "Niner, send over" Scchhhht
Scchhhht "Niner this is One Zero Alpha, figures three I say again figures three Bravo Mike Papa advancing across open ground to the west of our position, over" Scchhhht
Scchhhht "Niner sunray, roger. Stay calm son. Shelldrake acknoweldge over" Scchhhht
Bloody hell, the old man himself. No-one quite knew how he managed to convey calm and confidence with three words over a distorted radio circuit.
Scchhhht "Shelldrake, acknowledged, out" Scchhhht
Scchhhht "Niner sunray out" Scchhhht
Keith and I have fought quite a number of rollicking good adventures across the plains of northern Germany, all set in 1982 (ish), using the Modern Spearhead rules. You can see accounts of some of those games here. However it had been a while since the last outing, so despite being a little rusty with the rules, it was all on again. As always our armies are modelled using the Heroics and Ros range.
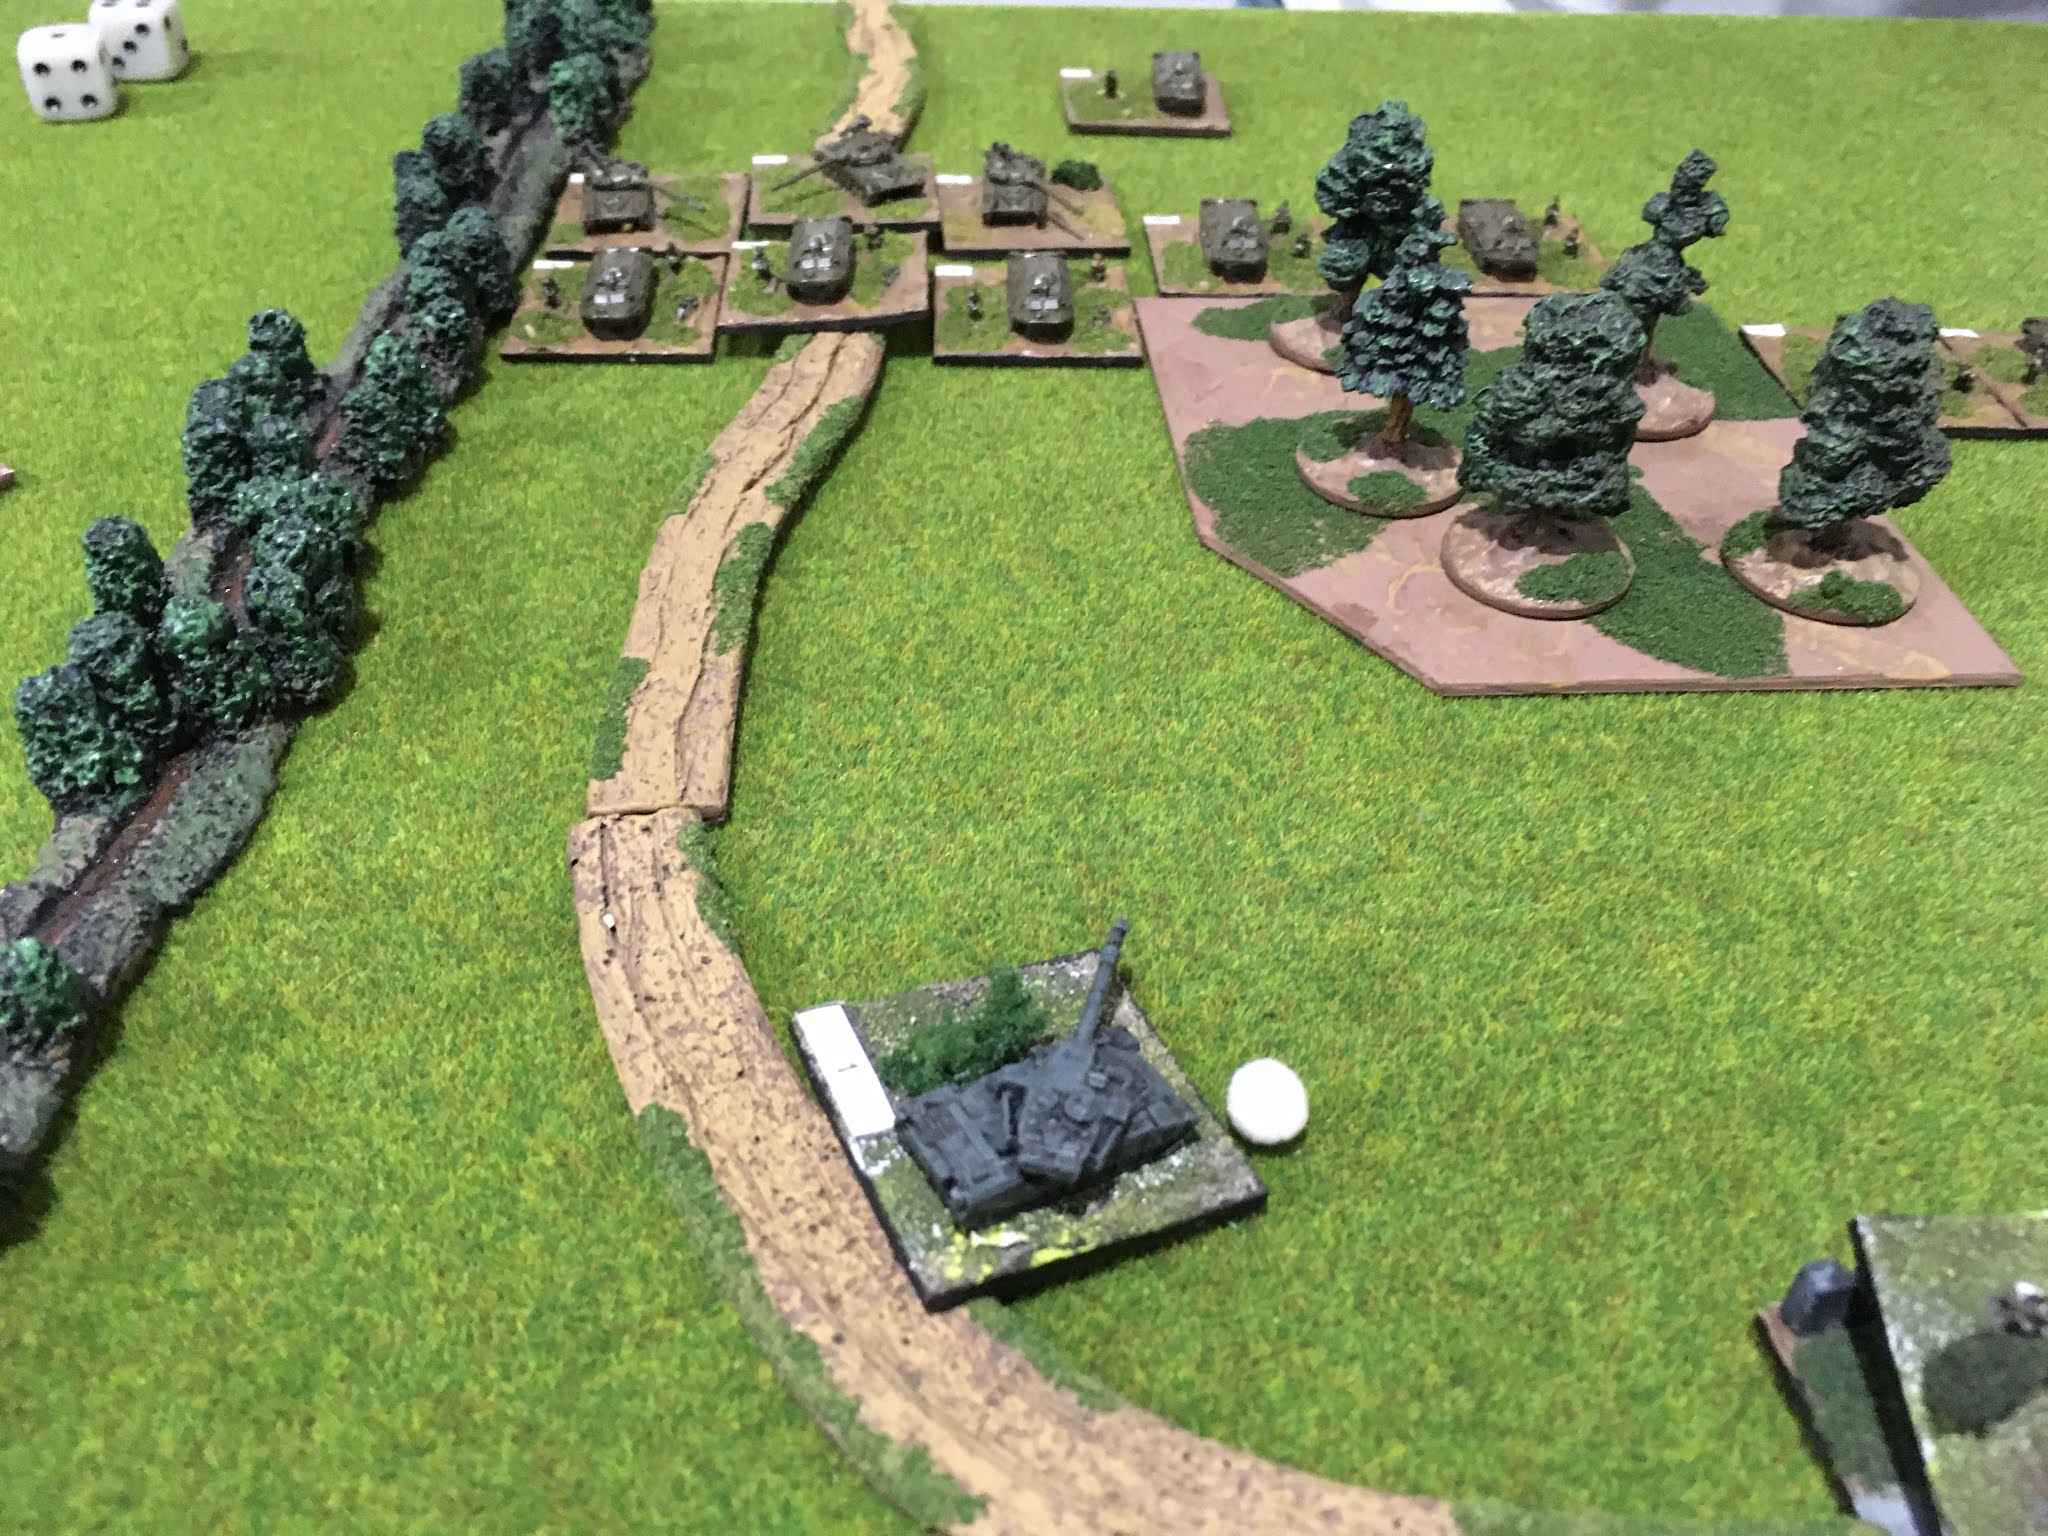
Normally I used an armoured regiment from one of the BAOR armoured brigades. This time however I decided to try something very different, and field elements of an infantry brigade. So it was that two battalions from 15th TA Brigade, with one armoured regiment from 1st Armoured division, were fielded in a hasty defence against Keith's Soviets. I used less artillery than usual, one battalion of M107s from Corps for CB, and the divisional battalion of towed FH70 155mm guns. I took a salvo of ICM (Improved Conventional Munitions) for the artillery, and a minefield. I planned to try to channel the attackers and then catch them in a killing zone formed with ATGW and the Chieftains from the armoured regiment. I also took some entrenchments in the hope that the infantry platoons might be able to survive a little longer on the battlefield, although in an ideal world they would not bear the brunt of the battle. Finally I took as an Option A a flight of Lynx attack helicopters. My first error (of many) was the minefield. I had agonised over whether to take a minefield (and the required engineers) or a round of artillery delivered mines. I should have taken the latter, as in a hasty defence scenario it is deemed that the defenders have not had time to lay the mines, so those points are lost. So I lost the minefield
Keith attacked with 5 battalions from a Motor Rifle Division, three with infantry mounted in BMPs in the centre of his attack, and each flank with infantry mounted in BTRs. Each had T64s as their armoured component.
 |
| The battlefield from the west (behind the British lines) looking east. |
 |
The BAOR left flank was secured with an infantry battalion with 3 Chieftain cross attached from the armoured regiment
|
 |
The town sector on the left (an objective in the game) was well defended and supported. Sadly for my defence the Soviets didn't attack here
|
 |
| The main weight of the Soviet attack advances on the BAOR right. Fortunately my reserve was deployed off table on the right prepared for a counter attack against just such a threat |
 |
The Soviet advance is disrupted by the terrain
|
 |
| The Reserve is committed at the end of turn one for turn 2, seen here coming on at the bottom of the photo at the beginning of turn 2. It is the armoured regiment with 6 companies of infantry cross attached from the two TA battalions |
 |
The reserve advancing, a Chieftain troop, and a troop of FV438 Striker Swingfire, seen in the foreground
|
 |
Central to the BAOR defence of the centre right is a Chieftain troop hull down on a high feature. This proved to be a huge problem for the Soviet advance as it was able to pick off advancing T64 platoons almost at will
|
 |
A second Chieftain platoon advanced from hidden deployment to threaten the right of the Soviet attack
|
 |
The hull down Chieftain troop, supporting TA infantry platoons seen at the centre left of the photo. There had also been a Milan platoon, but it was eliminated early by Soviet fire.
|
 |
Soviet right flank advance
|
 |
The Soviet centre took up positions on a ridge opposite the BAOR right flank. They came under fire from the BAOR FH70 155mm guns firing ICM... one platoon suppressed and one platoon eliminated
|
 |
The main part of the BAOR right flank defence, with infantry in the wood, and another platoon dug in in shallow entrenchments. A Milan platoon had already been eliminated from this company
|
 |
Part of the British reserve advances: a Chieftain troop, supported by a troop of FV438 ATWG. These troops were able to create a wicked crossfire when combined with the main British defence line
|
 |
| A Chieftain troop had advanced against the flank of the main Soviet advance but was then in turn taken in the flank when Keith committed his reserve, see upper left in the photo |
 |
| One of the British FAO units calling fire against the Soviet advance. An additional Chieftain troop is immediately to its rear |
 |
Battalion mortars dropped smoke to protect the dug in TA infantry form assault, and a flight of Lynx helicopters, armed with TOW are called in to support the flank, with immediate effect
|
 |
The weight of the Soviet advance against the British right flank is clear here.. a mass of armour
|
 |
| Casualties inflicted on the advancing T64s.here |
 |
.... and here ...
|
 |
The Soviet attack from the ridge is seriously degraded with casualties
|
 |
The defence of the left of the British centre is under pressure when the Chieftain troop is suppressed by flank fire
|
 |
The Soviets drop smoke in an attempt to shield their advance from the rapidly escalating casualties being inflicted by the Chieftain troops and the Lynx flight
|
 |
That Chieftain troop on the left attempts to pivot to meet the flank threat
|
 |
But the entire troop is put out of action by intense fire from BTR mounted ATWG and T64 fire
|
 |
Serious smoke cover, which however won't block the Lynx which is able to move since it no longer has targets under its mission and target priorities
|
At this stage we ran out of time, at a time when the game needed perhaps several more turns to 'develop'.
My BAOR left flank battalion had failed to respond to a requested order change that would have allowed it to move across onto the flank of the Soviet attack. While response was likely, the slowness of the units would have meant a significant delay in their impact on the Soviet attack, if any at all.
However my right flank 'reserve battalion' had effectively halted Soviet progress with its cross fire on the flank of the attack. The sustainability of that positon in itself was suspect as Keith was beginning to manoeuvre BTR platoons into a position where they could bring ATGW fire to bear on the Chieftain troops.
Soviet casualties had been heavy, but were spread across 3 battalions, so none of them was too close to morale check. Interestingly both of us had made less use of electronic warfare missions than usual. We had both used radio jamming which had reduced the effectiveness of artillery as it was more difficult to get a request through. We had both located enemy artillery. However my FH70s were out of range of Keith's allocated guns, and I had failed to locate Keith's battalions because they were SPGs and so that much more difficult to locate.
In one turn, Chieftain troops accounted for four T64 platoons, and the Lynx had accounted for another two in its two turns over the table when we had to call time. The FV438s had yet to have any impact on the battle, and as support stands added significantly to the crossfire that was developing.
So for a change the BAOR effectively halted the Soviet advance. Perhaps the most interesting thing about this game for me was my exploration of a wider variety if weapon capabilities .. Improved Conventional Munitions in particular. A lesson was learned about the addition of mines to a Defend list as well - next time it will be Artillery Delivered Mines.
As always, a great game....


