Feast or famine, it would seem, but such are the demands of the real world. Having had a year that seemed like a 'gaming famine, I am now in a time of plenty, as last night Jon, Stan, Nick and I gathered for our second Great War Spearhead game in a week. Having been reading extensively on the eastern front over the past few weeks, I decided I'd try to set up a game that reflected something of Conrad's attempts to break through the Russian lines in the Carpathian mountains.
The terrain was set with a number of three and four contour hills. I decided that the grey and white contours (see the photos) would only be accessible to infantry fighting stands. I also placed a couple of village sectors, and several uncrossable rivers. I wanted to reflect just how rugged the terrain was. The five highest peaks, and the only bridge across one of the river, were all terrain objectives worth two victory points each.
The game set up had one and a half Austro-Hungarian divisions attacking an under strength Russian division. The Austro-Hungarians had an artillery advantage, and both sides had limited ammunition availability for their guns. The Austro-Hungarians were also allowed three turns of pre-planned artillery fire from two regiments of 150mm howitzers. All infantry on both sides had random morale.
The Russian commander set out his entrenchments, and also placed the HQ stands from any on board defending regiments. The Austro-Hungarian commander then drew his attack arrows, and the precise placement of his pre-planned artillery. Once that was completed the Russian commander was allowed to shift his defending HQs by up to 6", and he set his troops out on the table. This mechanism was drawn from our GWSH variant of Keith McNelly's scenario generation system and added that lovely little bit of 'fog of war' to the game.
The game was played using my 20mm armies. The Austro-Hungarian forces are still incomplete so we used early war German infantry as proxies for the Austro-Hungarians.
 |
| The battlefield in the Carpathians, the Russians defending from the left, the AH forces attacking from the right. |
The Russian commander was allowed a limited number of Level 1 entrenchments.
 |
| Apologies for the shoddy representation of entrenchments, but here are some of the Russian infantry manning their positions |
 |
| Russian infantry defend a ford across one of the rivers on their extreme left flank |
 |
| The centre was dominated by one of the high peaks |
The Austro-Hungarian pre-planned fire fell across the battlefield.
 |
| Russian troops huddled in one of the local villages as the 150mm shells fell around them |
One of the main axes of the Austro-Hungarian attack was evident as pre-planned fire fell around one of the key peaks, and the troops that sheltered in entrenchments.
 |
| Fire falls, and several companies of infantry are suppressed. Overall casualties from the bombardment were light |
 |
| Both pre-planned bombardment casualties came from this position amongst troops clinging to the steep slopes. |
 |
| Russian troops suppressed in their village positions |
The main weight of the Austro-Hungarian attack fell on the Russian left and centre. Russian artillery was quick to respond and fire fell amongst the advancing Austro-Hungarian infantry.
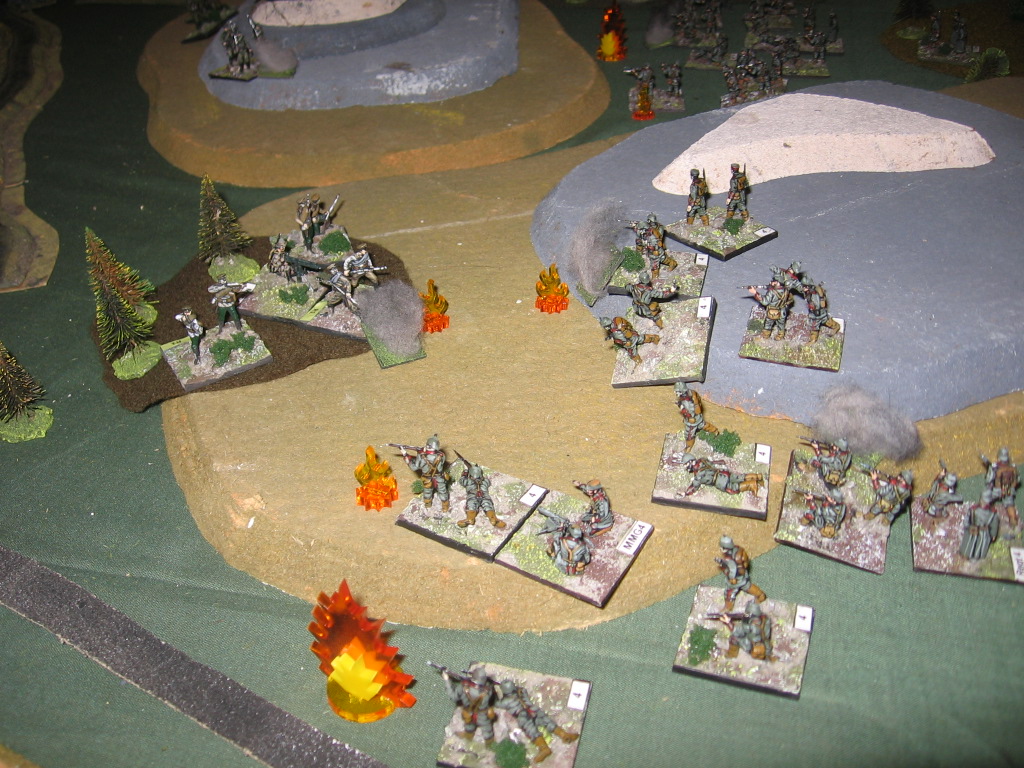
Action was joined between the Austro-Hungarian infantry and Russian infantry defending a wood. This would be the scene of a prolonged fight.
The Austro-Hungarians continue to take fire as they push on.
 |
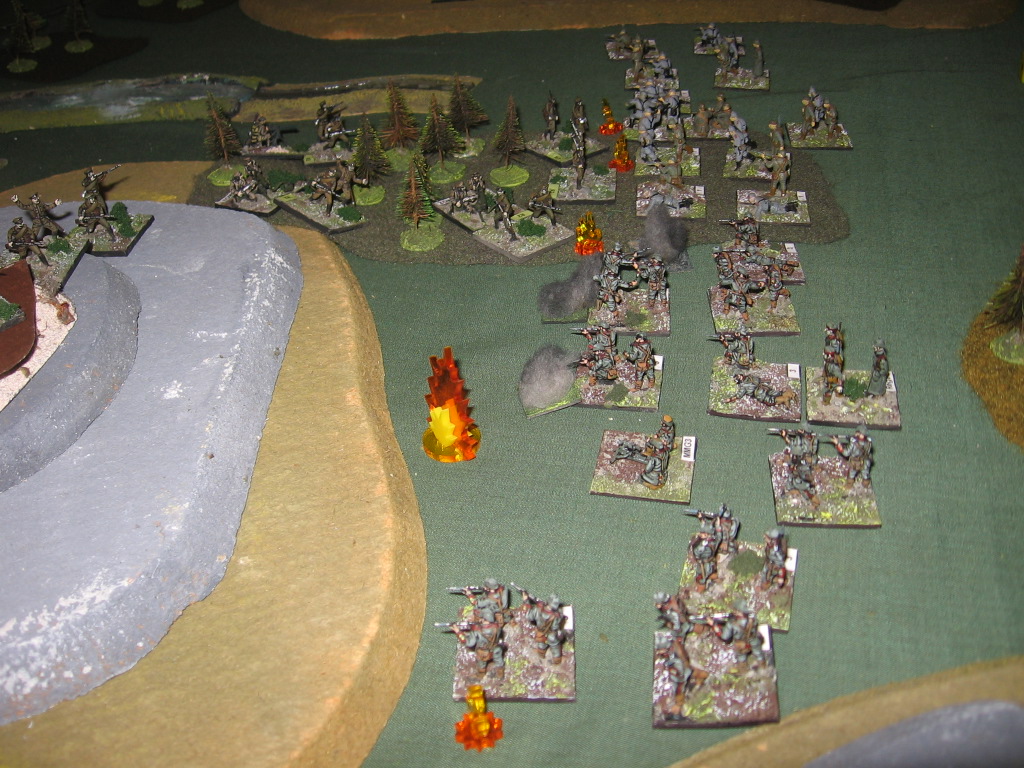
| The scene from behind the Austro-Hungarian right as they push into a large wood, and approach another of the dominating heights |
 |
| Fierce action amongst the trees and undergrowth on the Russian left |
The Austro-Hungarian left wing initially had limited objectives, halting at the edge of another wood, and behind an uncrossable river.
But action on the Austro-Hungarian right continues as the fire fight builds in intensity, with artillery falling from both sides. Casualties are mounting
Finally the pressure becomes too much and one of the assaulting Austro-Hungarian regiments, a green unit recently arrived at the front, fails its morale check and falls back, leaving a hole on the Austro-Hungarian line.
 |
| The gap left by the retreating AH infantry is apparent here |
The Austro-Hungarian left now takes action, with one regiment advancing on a timed order to move around the uncrossable river to seize the peak marked with a yellow counter. The other regiment begins to advance its fighting stands out of the wood towards the Russian guns that have been subjecting it to fire.
 |
| Jon and Stan, the two main commanders... um .. yeah ... what can you say? |
 |
| The Russian infantry are still holding out against their opponents in the centre |
In the meantime a counter battery fight is going on, and at one stage Russian guns are seriously impaired, but the Russian off board artillery regiment has now exhausted its inadequate stocks of shells. The infantry are on their own.
The Austro-Hungarian right wing has pushed on towards the ford and bridge (top centre of the photo). The Russian flank is about to come under extreme pressure. However the Russian commander had kept a small battalion reserve which he now deploys across to his left. He also commits his reserve regiment, knowing that he will need to prop up his front line. The pressure is building.
 |
The Russian local reserve redeploying towards their left wing
|
 |
| The Austro-Hungarian left pushes into the open |
 |
| The fire fight in the centre reaches a climax |
Action is joined between the Russian extreme left and the attacking Austro-Hungarian right wing as the battle for the ford and bridge begins.
Pressure on the Russian left holding out in the wood is immense, and casualties are mounting.
In the centre the Austro-Hungarian battalion commander pushes his troops forward in a close assault of the Russian defenders in the wood. The results are mixed, and both regiments have reached morale break points. The Russian regiment is Green, the Austro-Hungarian regular, and both pass their morale checks.
 |
| The survivors of the fierce bayonet assault in the wood in the centre. |
Meanwhile the Austro-Hungarian left has pushed into the open into a hail of fire. Casualties mount quickly.
 |
| The view from behind the Russian extreme right wing, with markers showing that the leading Austro-Hungarian battalion has been eliminated |
 |
| The extreme left Austro-Hungarian regiment can be seen scaling the heights of their objective (centre of the photo) |
And now the fight is well underway for the bridge.
 |
| Austro-Hungarian artillery fire falls amongst the Russian defenders |
 |
| A close up of the survivors of the close assault on the wood in the centre |
 |
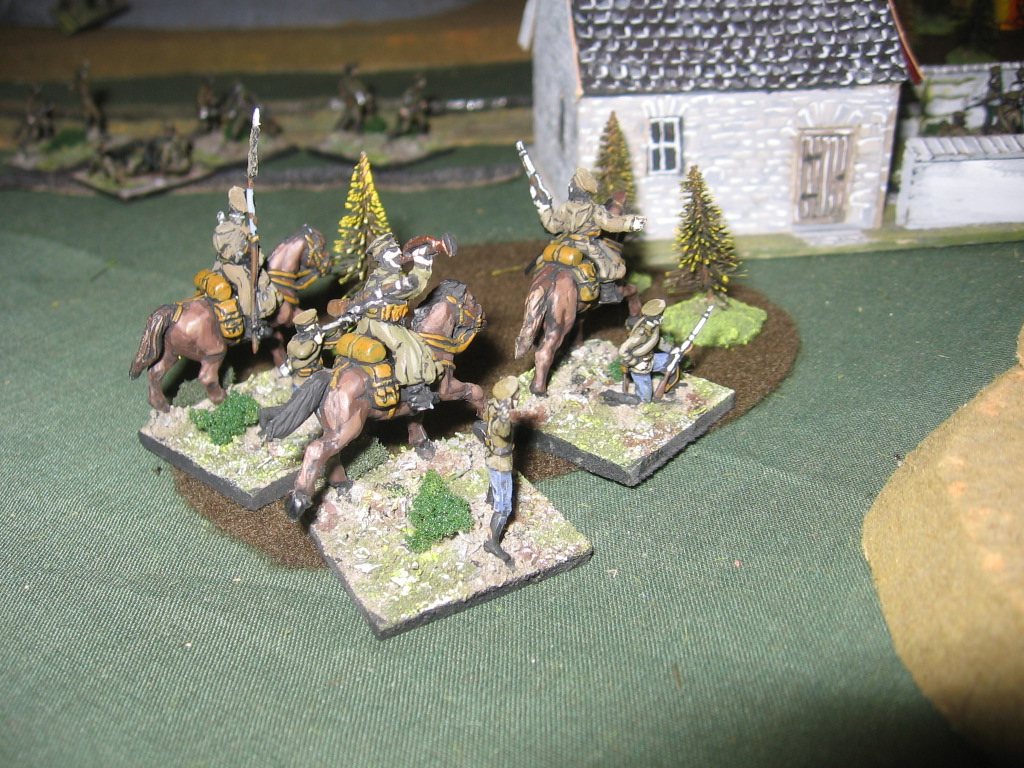
| Russian divisional cavalry, held in reserve, deploy forward. Jon has sensed that his centre is under threat. This is all he has to hold until the reserve regiment arrives |
The action intensifies around the ford and bridge.
Those local Russian reserves stream across the bridge into combat to defend the Russian left at the ford.
At this stage we ran out of time. The battle was in the balance. The Austro-Hungarians had taken only one of the objectives, the others were still held by the Russians. However Russian artillery stocks were exhausted. Their left was being assaulted by relatively unscathed Austro-Hungarian regiments, but at the same time the deployment of fresh reserves looked set to shore up the Russian line.
I was very happy with the outcome. The Austro-Hungarian forces were arguably too weak to take the objectives. Fighting in the rugged terrain had meant that the Russian defenders struggled to create supporting positions. As a consequence the battle tended to take place in isolated pockets.
The outcome was definitely in line with the rest of Conrad's Carpathian Capers in 1915, and we had all had an immensely enjoyable evening's 'gaming, to boot.