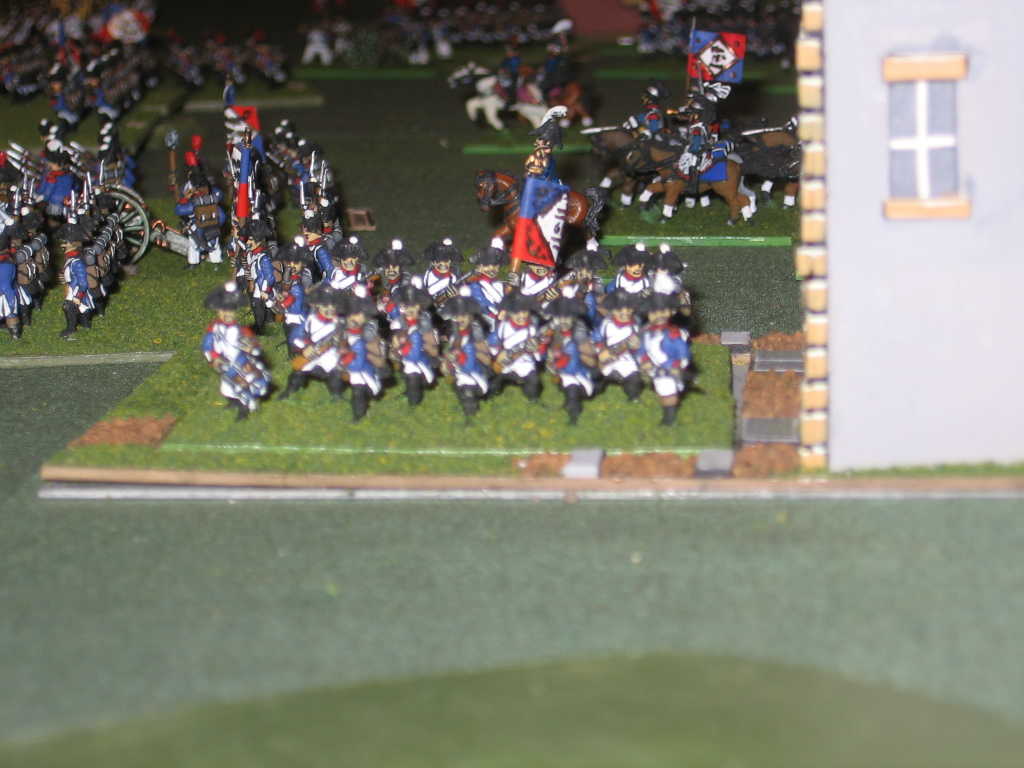
North America, June 1862, the Battle of Cross Keys, well a rough approximation anyway. We took a scenario from an old Miniature Wargames magazine, and converted it to Volley and Bayonet for our first American Civil War game in quite some time. It probably should have been fought at the lower Wing scale, but we opted to use the map and forces at normal VnB scale. The game was fought using my 15mm ACW forces (mostly FreiKorps figures). The buildings are scratch built from card.
The Union forces (largely M4 troops) are attacking a better quality Confederate force.
Confederate forces deployed in some of the many wooded areas of the battlefield.
The Confederate right/Union left, where so much of the action took place. The ravine that was so significant in the original battle is just behind the Confederate forces in the upper left of the photo.
The Union commander masse much of his artillery in his centre to try to blast the Confederate defenders out of their positions.
The Confederate right deteriorated in to a swirling melee with massed short range fire ringing out through the trees, and mad screaming as units charged and counter charged. The battle was eventually won by the Union attackers.
In the meantime the Confederate defenders boldly attacked through the centre. Here they are seen charging one of the defending Union brigades. However even here they were bloodily repulsed, and overall victory went to the Union forces.
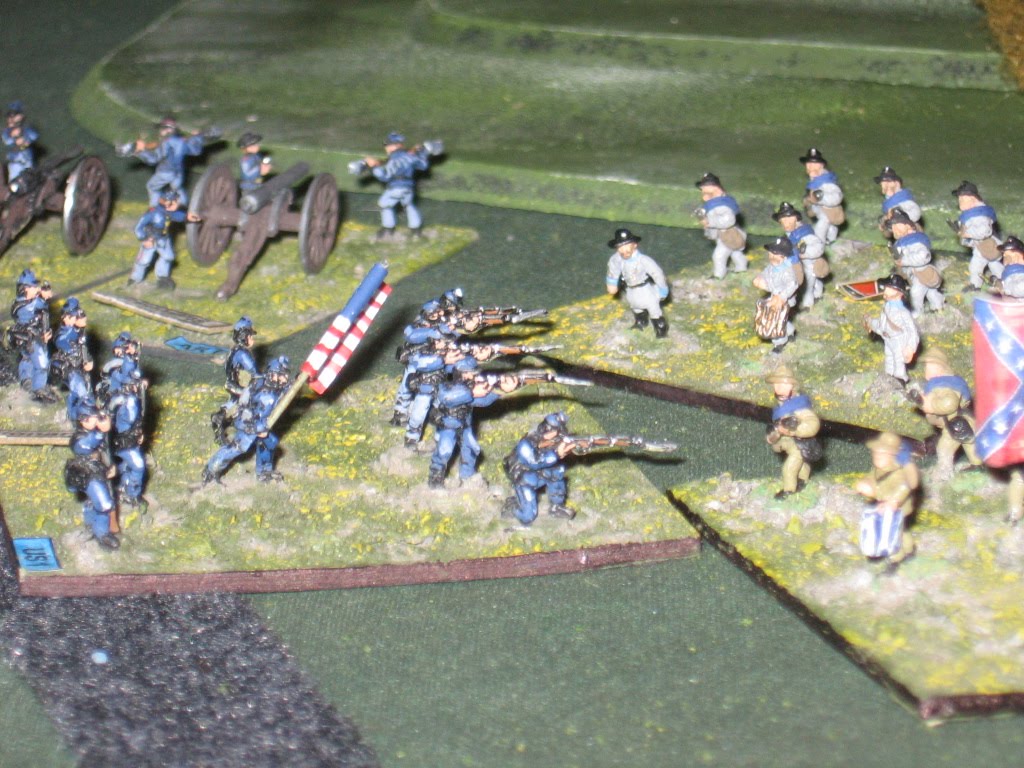
We were in this case more interested in creating a good quality game than in recreating the original historical battle, and we succeeded. This was a close fought battle in which the balance swung several times. The Union forces snatched a final victory with a series of last turn charges that took advantage of a couple of very small battlefield advantages that had occurred on the Confederates' previous turn.
As always, a damned fine game.
One slightly contentious aspect of the second edition VnB rules for us is the zone of control. We decided to opt for a house rule where the ZOC only exists directly to the front of a stand (rather than extending to the sides as well), and to use the DBX WADBAG interpretation used in DBA games called the 'rolling carpet' interpretation. That is, The ZOC stops when it meets the first enemy unit. It works well in our opinion.
Saturday, July 24, 2010
Wednesday, July 21, 2010
'Dark Journey' indeed..
I'm quite a fan of the work of NZ Historian Glyn Harper. I had bought and read his two books "Massacre at Passchendaele", and "Spring Offensive", but when 'Dark Journeys" was released I resisted, as it included these two books, plus what I simply understood as additional material. When I recently saw a copy on sale at a much reduced price I thought it might be worth buying a copy. I really should have read the Contents page more thoroughly when it first came out. The third part of the book is titled 'Bloody Bapaume', and what an eye opener it is.
Harper details what was in fact the bloodiest battle in which the NZ Division was involved on the Western Front, the taking of Bapaume in August 1918. His analysis is interesting, and not the least xenophobic. He details what he sees as the failings of the division at that time, not the least of which was the number of commanders who had been so recently promoted into their positions (in command of Brigades and Battalions) and so had little operational experience in their new positions, with units of these sizes. He also proposes that the Division came through as well as it did because Russell (operating at well below his own best at this stage, Harper suggests) had created what Harper calls a 'learning organisation' in which lessons were quickly learned, and in which men at all levels were willing to take control and resolve problems with which they were confronted without waiting for direction.
Haprer's analysis of casualties is interesting. He points out that Russell amongst others significantly understates the casualties that the division suffered in the battle, and is also able to show how badly the battle was reported in New Zealand, citing one newspaper that declared that Bapaume had fallen 2 days before it actually did.
I thoroughly recommend the book, even if purely for the account of 'Bloody Bapaume', and of course if you haven't purchased or read the earlier two books on Passchendaele and the Spring Offensive, then the book is an absolute gem. The book is published by Harper Collins, 2007.
Harper details what was in fact the bloodiest battle in which the NZ Division was involved on the Western Front, the taking of Bapaume in August 1918. His analysis is interesting, and not the least xenophobic. He details what he sees as the failings of the division at that time, not the least of which was the number of commanders who had been so recently promoted into their positions (in command of Brigades and Battalions) and so had little operational experience in their new positions, with units of these sizes. He also proposes that the Division came through as well as it did because Russell (operating at well below his own best at this stage, Harper suggests) had created what Harper calls a 'learning organisation' in which lessons were quickly learned, and in which men at all levels were willing to take control and resolve problems with which they were confronted without waiting for direction.
Haprer's analysis of casualties is interesting. He points out that Russell amongst others significantly understates the casualties that the division suffered in the battle, and is also able to show how badly the battle was reported in New Zealand, citing one newspaper that declared that Bapaume had fallen 2 days before it actually did.
I thoroughly recommend the book, even if purely for the account of 'Bloody Bapaume', and of course if you haven't purchased or read the earlier two books on Passchendaele and the Spring Offensive, then the book is an absolute gem. The book is published by Harper Collins, 2007.
Friday, July 16, 2010
New WW1 After Action photos
So.. you can now see what happened with those 18pdrs in the face of a steadfast German advance .. it was open range in a target rich environment, but the RHA boys couldn't get the rounds off fast enough.
Take a look at the 'Race for the sea' after action report on 'The Great Adventure'.
Wednesday, July 14, 2010
Russian expansion... figures for 6mm Spearhead
On the premise that you can never have enough Russian infantry, my latest project: a second Russian Rifle regiment for the 6mm WW2 Spearhead forces. These figures are old Ros Heroics that I bought close to 30 years ago for some project or other (I really can't remember what it was), and they have sat unopened in their bag since then. However as I look to get into some serious WW2 'gaming (mid war Eastern Front) using the Spearhead rules, I realised that I needed a second Rifle Regiment for an Infantry Division attack list under Keith's Scenario Generation System (it might be flash to take Tank Corp lists all the time, but I find it interesting to try something different; this is for a largely infantry force supported by a couple of heavy tank brigades and plenty of artillery - this style suits me, being a table top WW1 general by inclination, with lots of infantry, supported by plenty of artillery organised into a serious fire plan that includes liberal doses of Counter Battery fire etc).
So here is a view of the Regiment complete, just to give an idea of the size of the forces - 33 stands with only the MMG support stands.
And here is one battalion against a backdrop of 6mm Spearhead town sectors (the buildings seen here were a locally produced product again from way back in the late 70s or early 80s).
Now... to organise a few more games.
So here is a view of the Regiment complete, just to give an idea of the size of the forces - 33 stands with only the MMG support stands.
And here is one battalion against a backdrop of 6mm Spearhead town sectors (the buildings seen here were a locally produced product again from way back in the late 70s or early 80s).
Now... to organise a few more games.
Monday, July 12, 2010
Race for the sea..
Nick and I played a very cool Great War Spearhead game tonight, using the Scenario Generation System. The game was a mutual encounter set in 1914, during the race for the sea after 1st Marne. A full after action report will appear soon on 'The Great Adventure', but here are a couple of photos in the meantime.
These boys made it hard for the BEF.
And it was a hot day for these boys...
Find out soon on 'The Great Adventure.'
These boys made it hard for the BEF.
And it was a hot day for these boys...
Find out soon on 'The Great Adventure.'
Friday, July 9, 2010
Archduke Ferdinand tragically killed ...
It's some time in the early nineteenth century, and France and Austria are at war. Archduke Ferdinand is trying to stop the French from gaining a bridgehead across a river in area that looks remarkably similar to the landscape around Aspern-Essling. Translation: we played a smaller version of Aspern-Essling, set in the earlier era when (in Volley and Bayonet terms) the Austrian army is still represented on linear bases). We had planned an ACW battle, but this looked much more interesting on the night. The battle was fought using Adrian's 15mm armies, and the Volley and Bayonet rules.
The French had to cross a river using two bridges. Upstream a unit of Austrian sappers had prepared demolitions which they had floated down the river to try to blow up the bridges and so halt the French advance. First one bridge blew, but was hurriedly repaired by French sappers, and then the second was blown, but all too late as it transpired.
Early on the French struck out at the thin Austrian centre, as the Austrian commander had thinned his troops in the center to attack the French flanks. He just had to screen off the French advance here long enough to cut through the flank defences and cut the advanced guard off from reinforcements (that was my plan, and it looked good at the start anyway...).
Their right flank was secured in one of the towns.
The French had to cross a river using two bridges. Upstream a unit of Austrian sappers had prepared demolitions which they had floated down the river to try to blow up the bridges and so halt the French advance. First one bridge blew, but was hurriedly repaired by French sappers, and then the second was blown, but all too late as it transpired.
Early on the French struck out at the thin Austrian centre, as the Austrian commander had thinned his troops in the center to attack the French flanks. He just had to screen off the French advance here long enough to cut through the flank defences and cut the advanced guard off from reinforcements (that was my plan, and it looked good at the start anyway...).
Their right flank was secured in one of the towns.
French cavalry have struggled across the congested bridges and stuck hard at the thin Austrian centre.
The Austrians meanwhile shielded their own left, bringing up their converged Grenadier brigades to strike into the French right.
The thin Austrian centre is seen here under attack.
The Austrian Grenadiers launched into the French right, cracking through two French brigades in quick succession.
Meanwhile, in the centre, the Austrian cavalry had arrived, the plan was that they would help screen the centre while the Grenadiers carved their way through the flank. But.. disaster struck. A Brigade of Austrian Dragoons launched themselves at a Brigade of French Cuirassiers, supporting themselves with their own horse batteries. Archduke Ferdinand was convinced that this was a vital attack, and so put himself at the head of the charge. Oh so sad to see the flower of the Austrian royalty cut down in a vicious unprovoked assault from the French Cuirass....
Finally however the Austrian centre gave way, leaving the two wings isolated while the French surged forward from their bridgehead.
Wednesday, July 7, 2010
Just pottering....
... as you do, and I thought I should finish the Stronghold for Lorraine's Angel army. It has been sitting sans cloud for several months, and took all of 4 minutes to finish.. 'get a move on, Robin'!!
So here it is... we were looking for the idea of something almost terrestrial towering up above the clouds .. Corinthian columns (well almost), and angelic statue...
Here it is with the Flying Angel Heroine, and one of the pixie airboats from the army.
Now to finish the "evil women" army for her....
So here it is... we were looking for the idea of something almost terrestrial towering up above the clouds .. Corinthian columns (well almost), and angelic statue...
Here it is with the Flying Angel Heroine, and one of the pixie airboats from the army.
Now to finish the "evil women" army for her....
Subscribe to:
Posts (Atom)
Pushing the boundary out a little
Some years ago I experimented with the idea of 'Cold war gone hot' , the idea of an armed conflict between the Soviet Union in the y...
-
It's been quite a week of wargaming. Wednesday evening Murray and I completed the Great War Spearhead game in the alps . Wednesday saw u...
-
During the Great War the eastern and Italian fronts saw fierce fighting across rugged and mountainous terrain. Our preferred WW1 rules syste...
-
It's the Middle East theatre in 1915. British forces have been molested by the fire of a new Turkish armoured train providing support t...